Not eating meat for most of my adult life, I had no idea how to make it tender and flavorful. When I made the switch, I asked my body how it would like my first piece of meat and I saw a picture of a woman stirring a caldron over a fire. It had carrots, cabbage and potatoes in it. You would expect the body to have some difficulty with it's first time in almost 20 years, but there was none! I was emotionally ready and I chose my first cooking technique well. Now I'm known in my circle of friends as "super carnivore" as a joke. And needless to say, I've mastered stewing it. Many of my clients also like it this way, I hope you do, too.
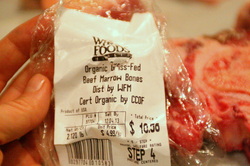
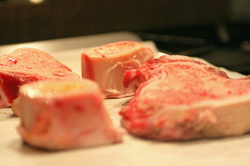
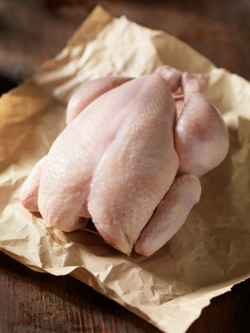
1-2lbs. Grass Fed Stew Meat (like Chuck, Shank or Rump Roast)
Pad of Grass Fed Butter
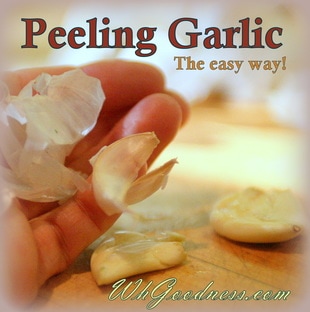
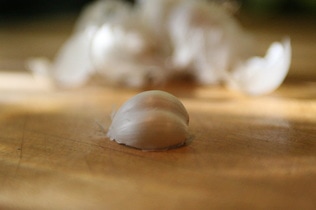
Fresh Garlic
Stew Spices: Bay Leaf, Pepper Corns, Mustard Seeds, Rosemary, Red Pepper, Coriander Seeds, Onion Powder
Sea Salt
Water
Optional: Cooking Wine
1-2lbs. Grass Fed Stew Meat (like Chuck, Shank or Rump Roast)
Pad of Grass Fed Butter
Fresh Garlic
Stew Spices: Bay Leaf, Pepper Corns, Mustard Seeds, Rosemary, Red Pepper, Coriander Seeds, Onion Powder
Sea Salt
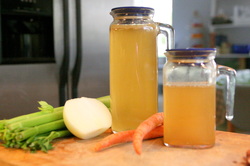
Water
Optional: Cooking Wine
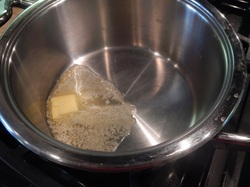
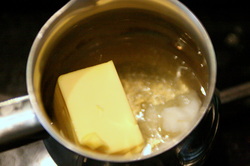
Melt your butter in a stew pot. I have a Zepter one that really cooks nicely, but anyone with a thick bottom and stainless would be fine.
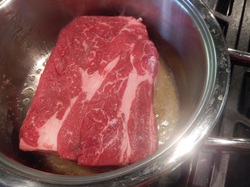
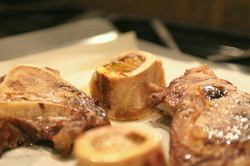
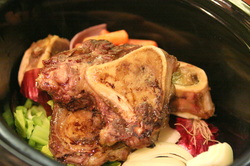
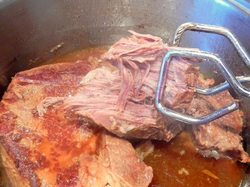
Add your stew meat and fry in butter until it is brown and aromatic. Boy will it be aromatic! My mouth waters at this stage, but you have to snack on something else, because it's gonna be hours before it's done.
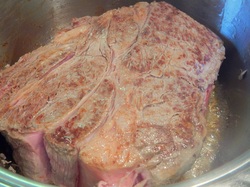
Turn it over and braise the other side.
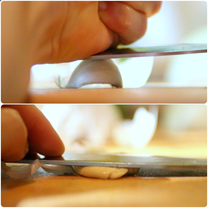
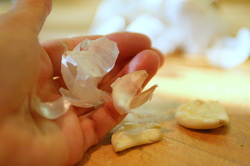
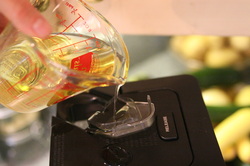
Once both sides are browned, add fresh garlic and your cooking wine if you are using it. Maybe 1/4-1/2 cup.
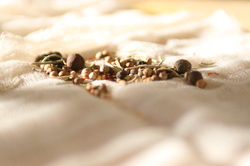
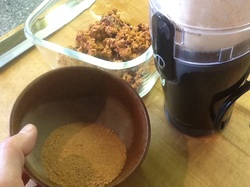
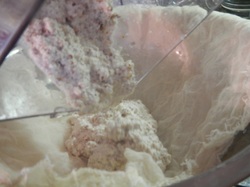
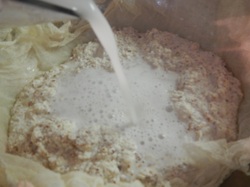
Place your spices of choice on a piece of cheese cloth. I'm using 1 tbs. of corned beef mix here plus adding rosemary. Each time I do it a little differently. Play around to find your favorite combo.
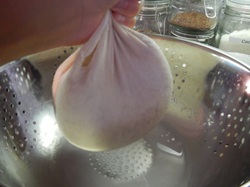
Tie the cheesecloth in a knot, trapping the spices, so they give flavor but you can remove them later.
Tie the cheesecloth in a knot, trapping the spices, so they give flavor but you can remove them later.

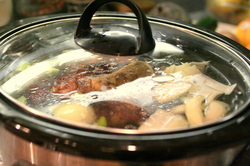
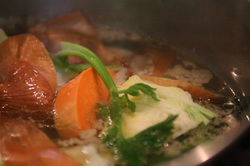
Add enough water to come at least half way up the side of your meat and bring to a boil. Then cover and let it simmer on low flame for 3-4 hours. This will depend on your cut of meat. Half way through, I usually flip it.
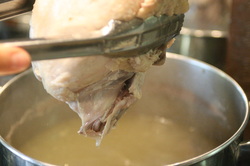
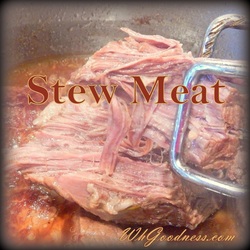
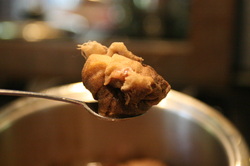
It's done when it falls apart with the touch of a spoon.
It's done when it falls apart with the touch of a spoon.
Remove the spice sack.
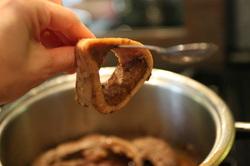
If using shank, take the bone out. Any marrow that may be left inside, remove and leave it in the broth.
Taste and season with salt if it needs it.
Options: Wonderful just as it is...
Options: Wonderful just as it is...
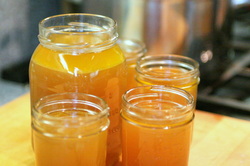
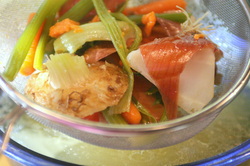
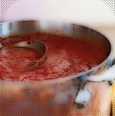
 ...Or add vegetables and a little tomato sauce for a beef vegetable stew. | 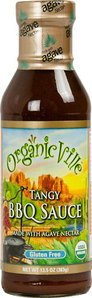 ...Or drain the liquid for another soup and add BBQ sauce. I don't generally eat agave. It doesn't seem to break down in the body as clean as other sugars (something about an extra carbon on it's molecule), but once in a while, just for fun, I'll use this brand. In the future, I'll create my own BBQ recipe and post it here. |