Organic Whole Foods Made with Integrity
Wholesome Chef Mici
  • Home
  • About Mici
  • Services
  • Recipe Blog
  • Photos
    • Paleo Pix
    • Macro/Desserts Pix
  • Videos
  • Gluten?
  • Paleo?
  • Like Minded
  • Testimonials
  • Contact

Hazelnut Truffles

11/8/2021

0 Comments

 
Picture
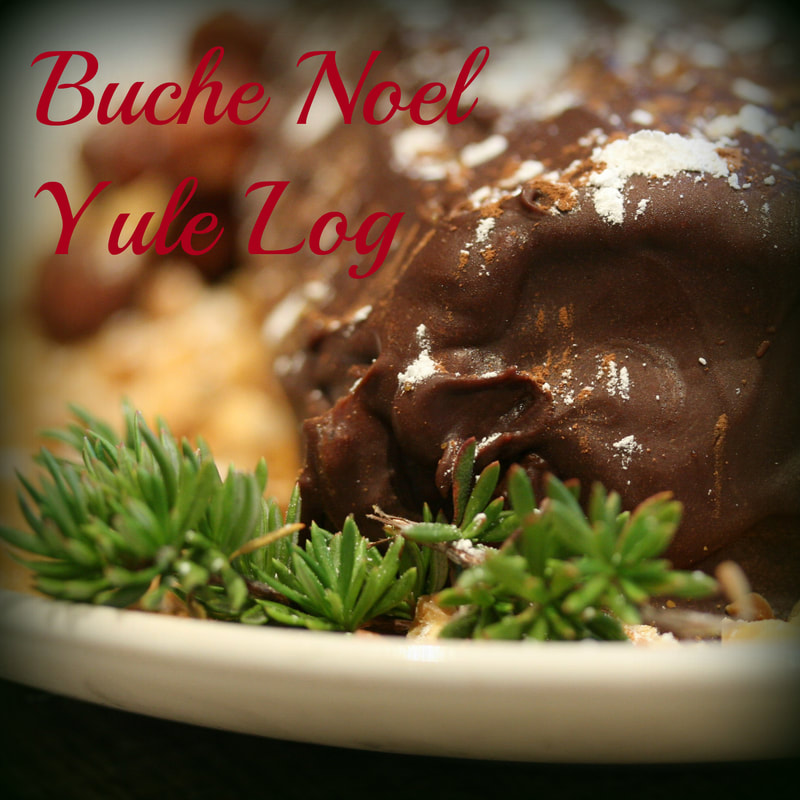
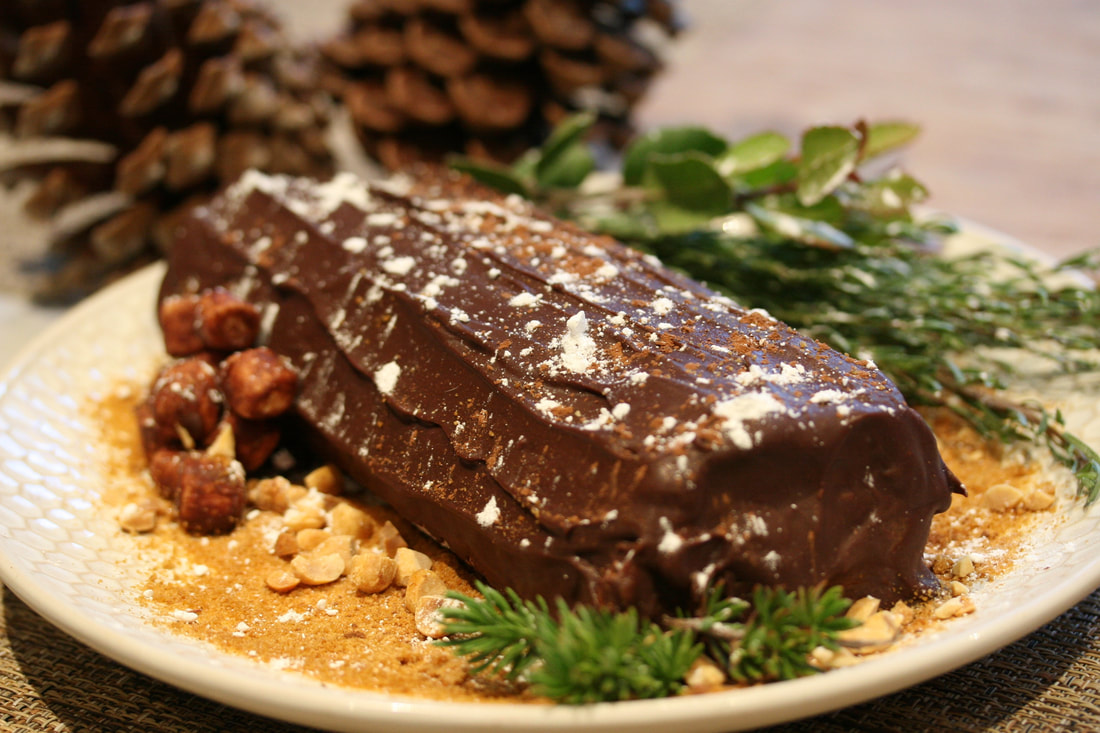
Who doesn't like the combo of hazelnuts and chocolate? Made in heaven like peanut butter and jelly! I have a hard time keeping these around. Down the hatch they go! Make as many as you can afford... (hazelnuts are pricy). you won't be sorry. Great for guest or just a hazelnut snack mid  day.
Enjoy.

Hazelnuts (as many as you like! I used about 3 cups for this)
Cocoa powder (I prefer dutch process) I used about 1-2 Tbs.
Parchment paper

Optional:
Coconut sugar (I used about 2Tbs.)
Coconut oil (not virgin) I used about 2-3 Tbs.

Picture
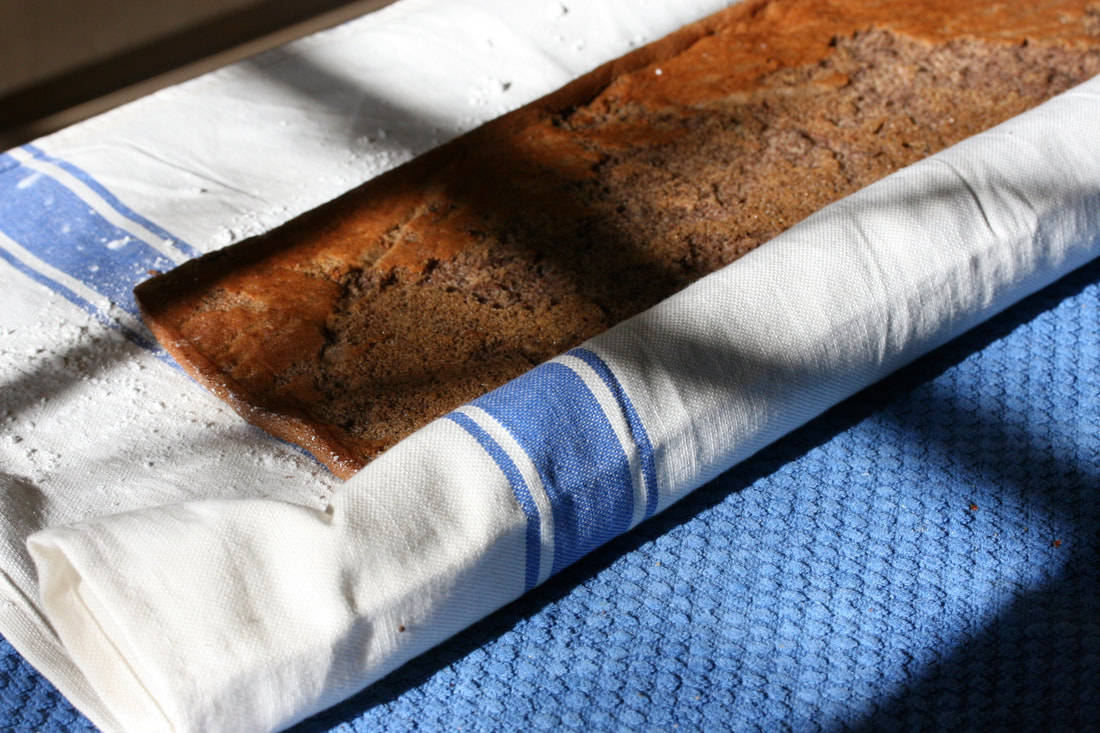
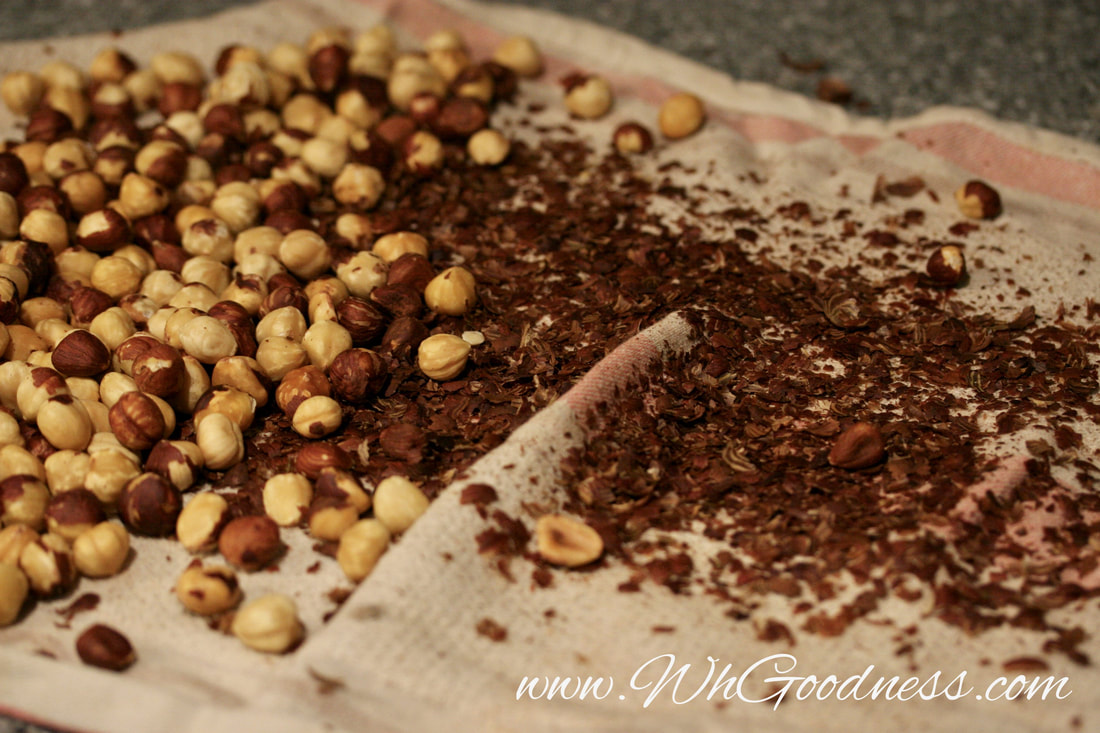
Lightly toast your nuts at 250 degrees for around 15min or until you smell a hazelly goodness. 

Roll between two pieces of cloth to remove most of the skins.
Picture
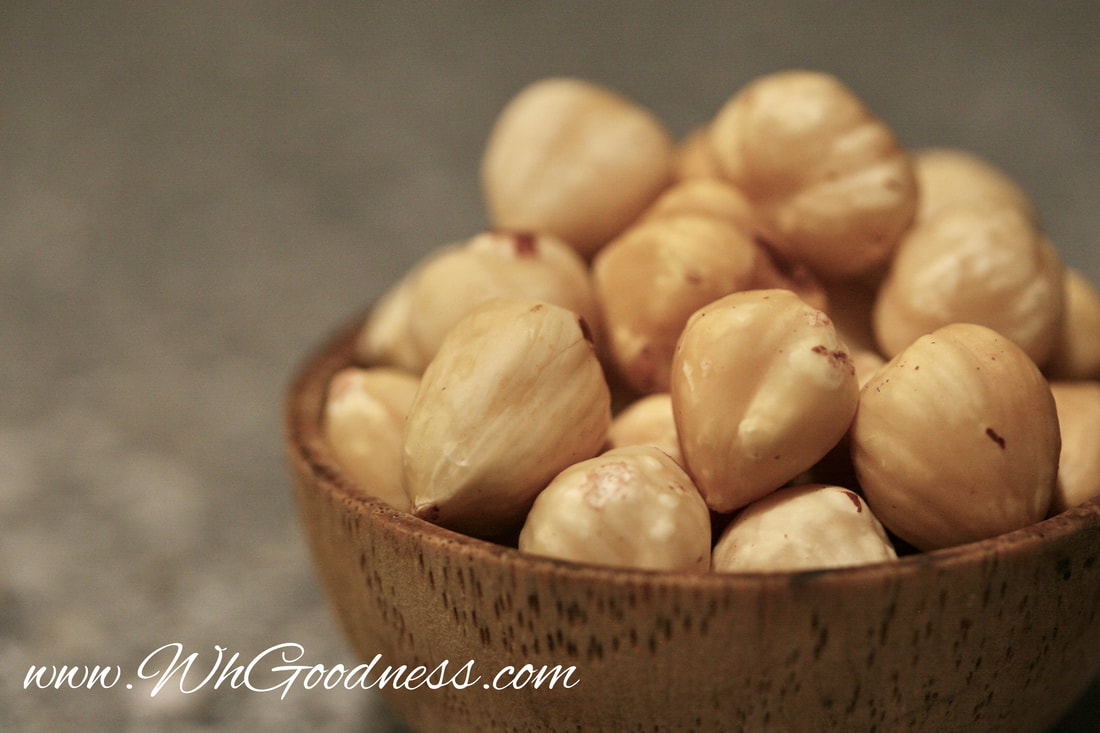
Set aside 30-40 or so nuts to add to the center of your candies.
Picture
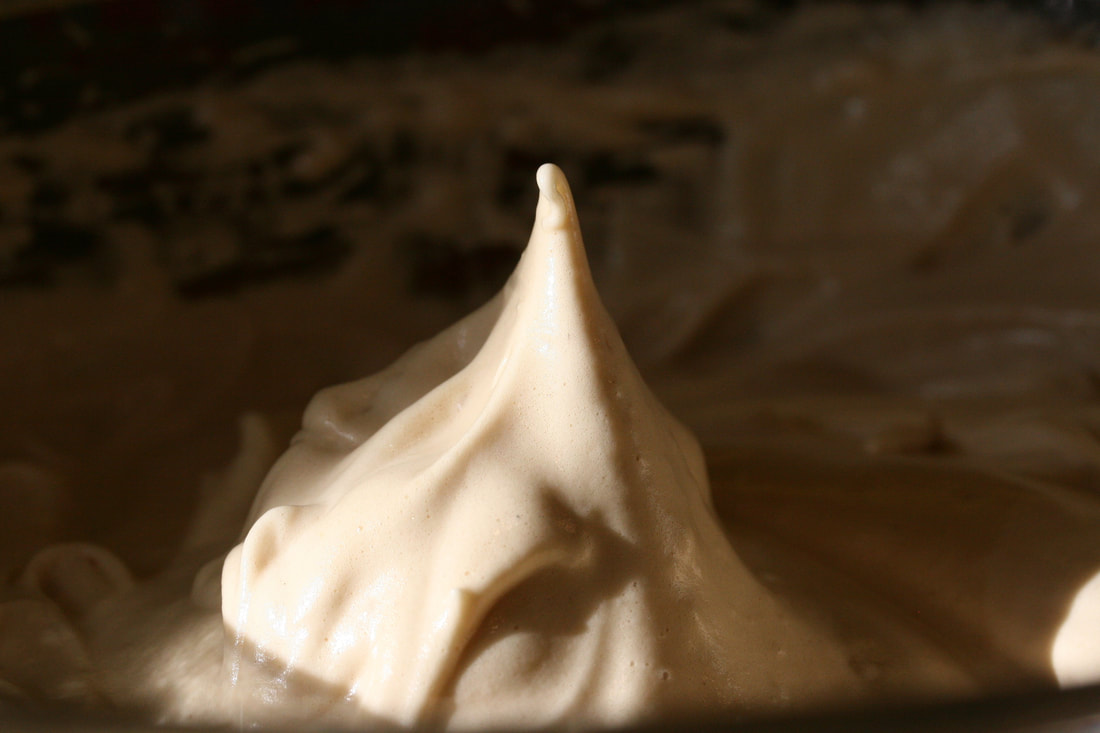
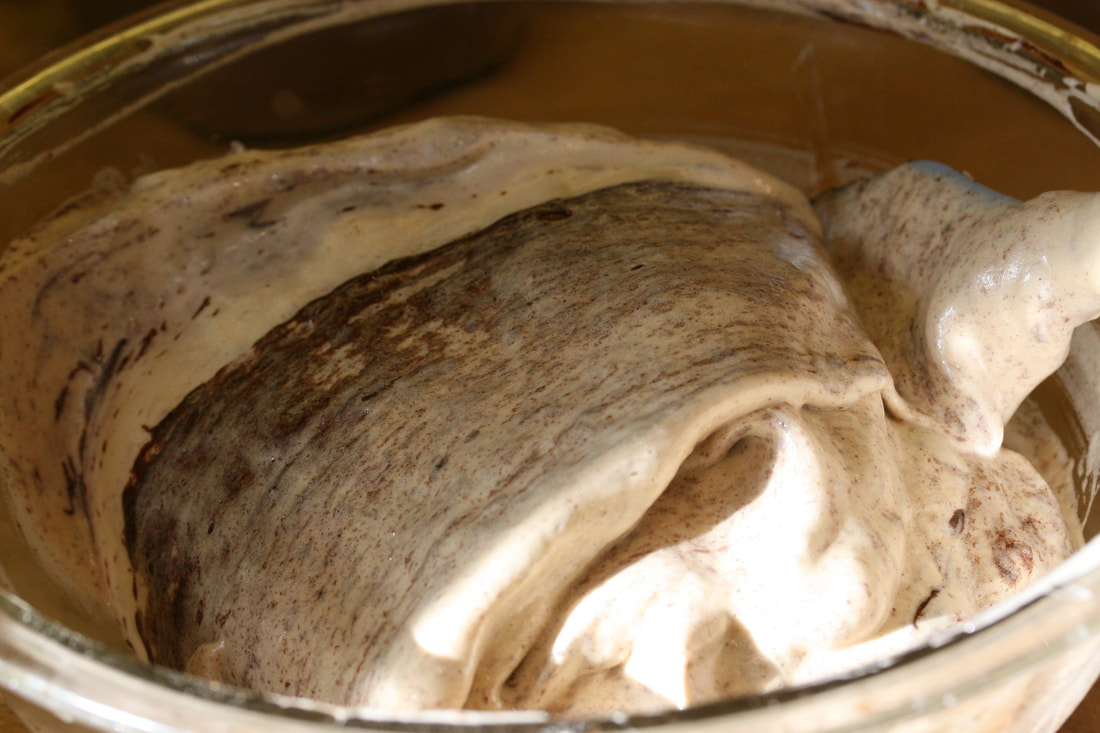
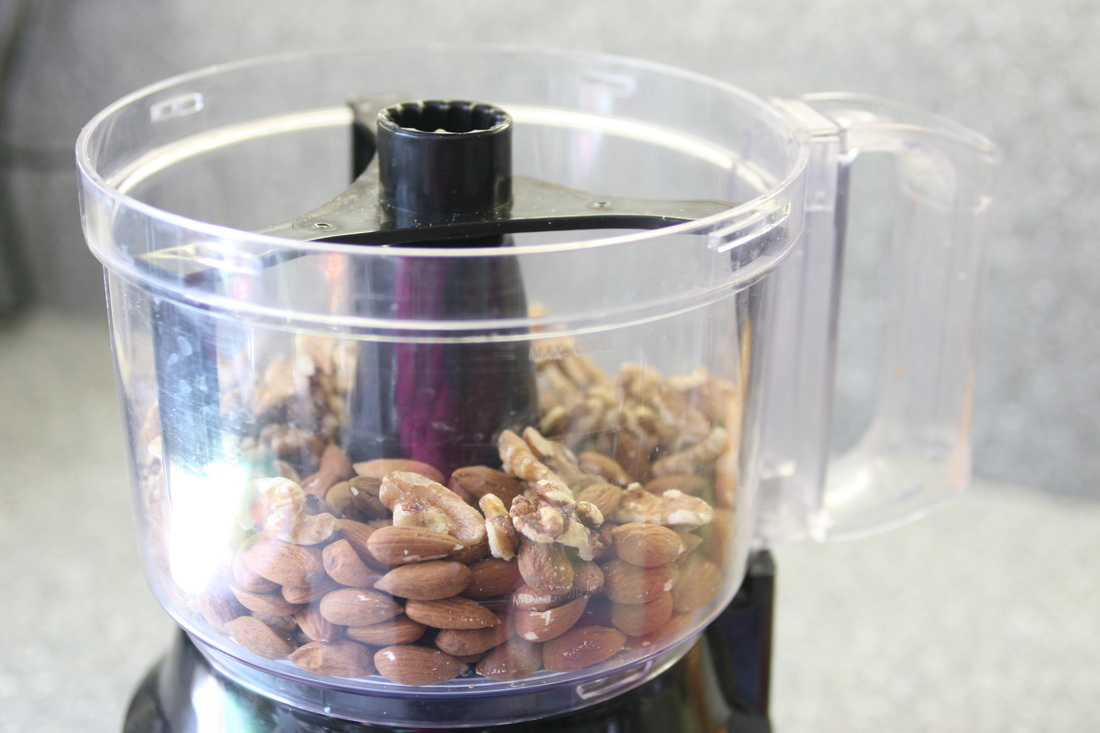
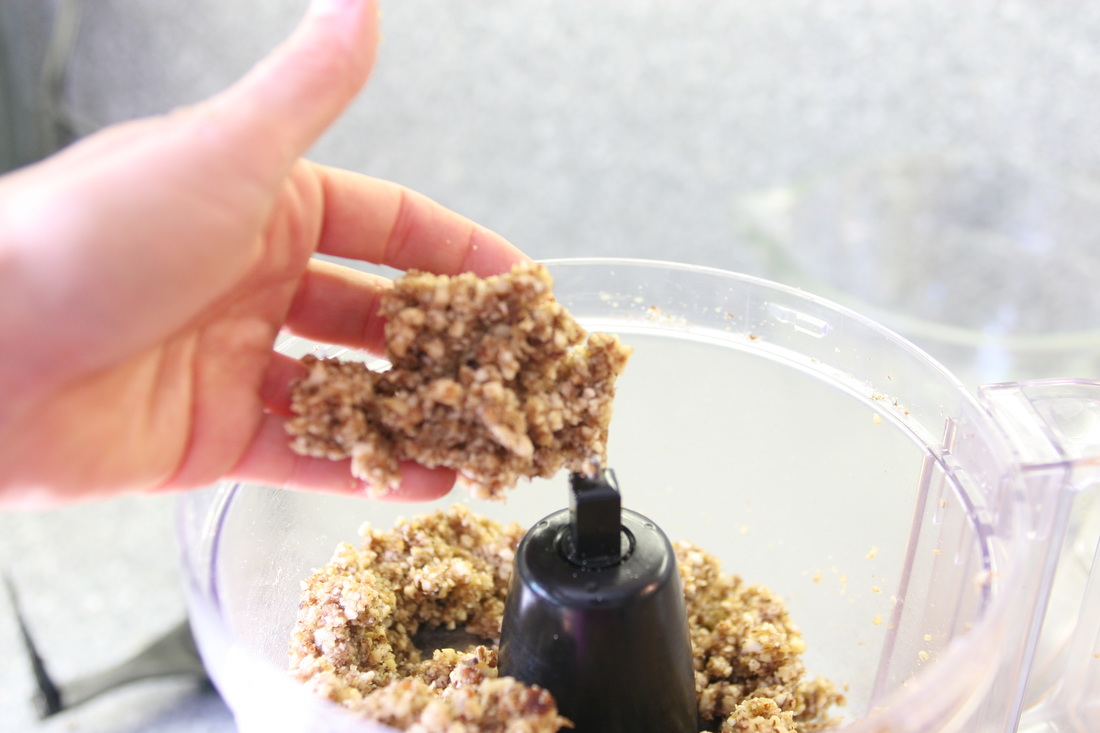
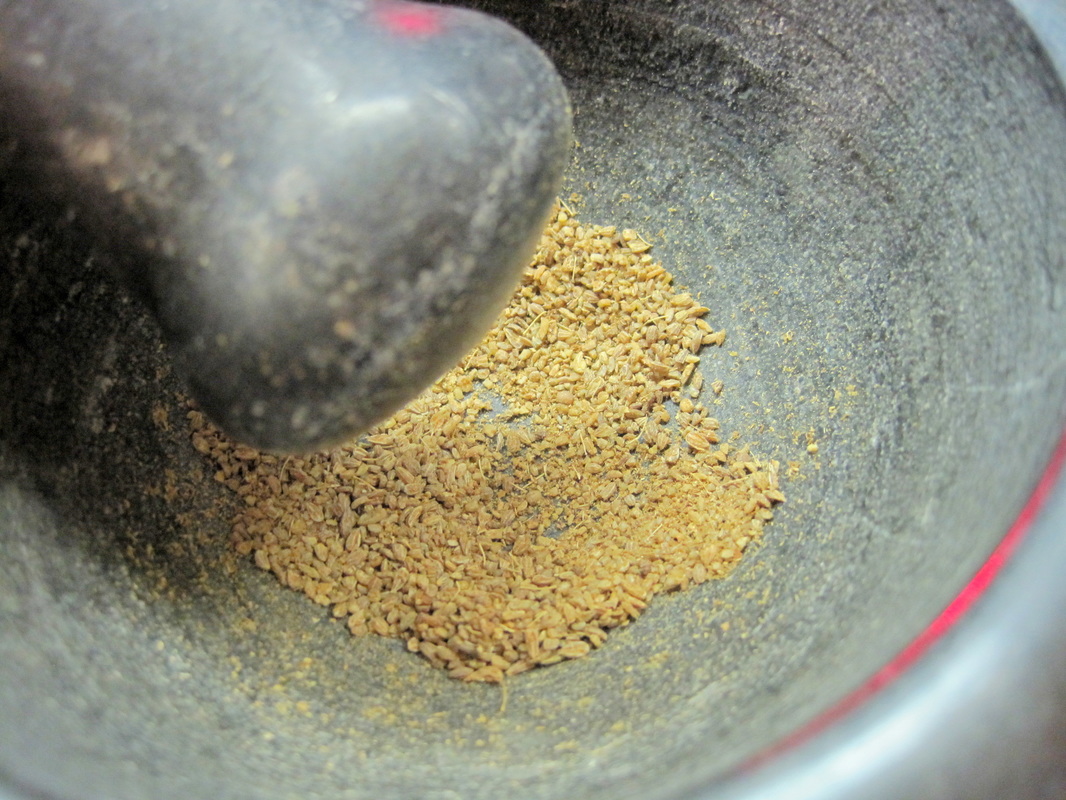
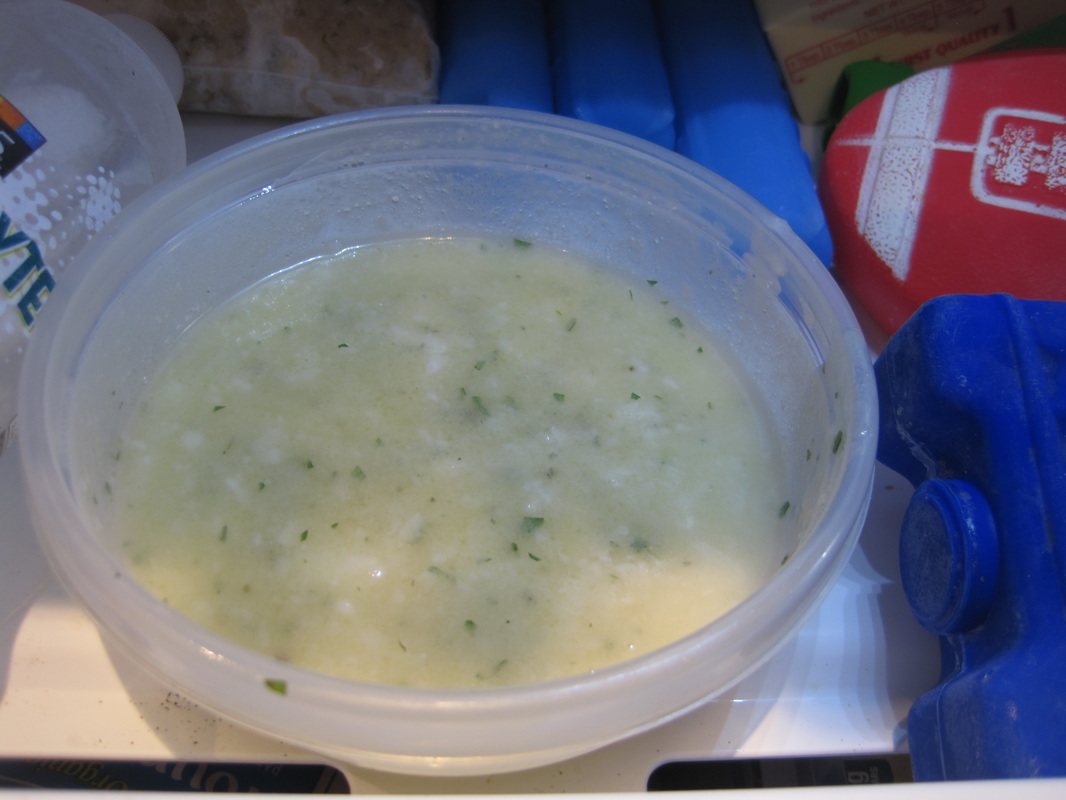
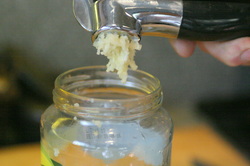
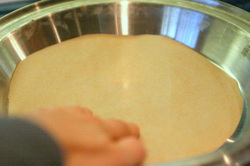
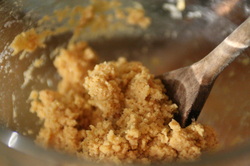
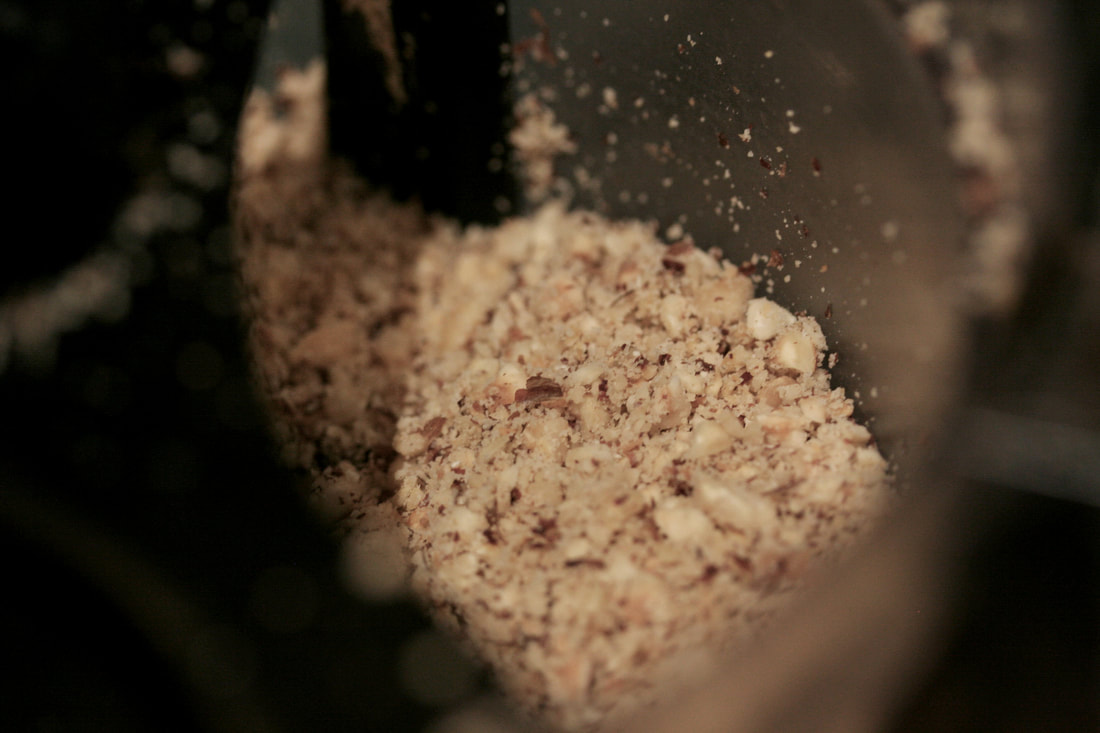
Grind down your hazelnuts in a food processor. This picture shows them not ground enough. You want the nuts to come together as a paste, but not runny like peanut butter. Watch it closely. Takes about 5 min to achieve. 

​Then add a bit of cocoa powder and coconut sugar if you like. To taste. (For 3 cups of nuts I used like 1-2 Tbs of each)

Picture
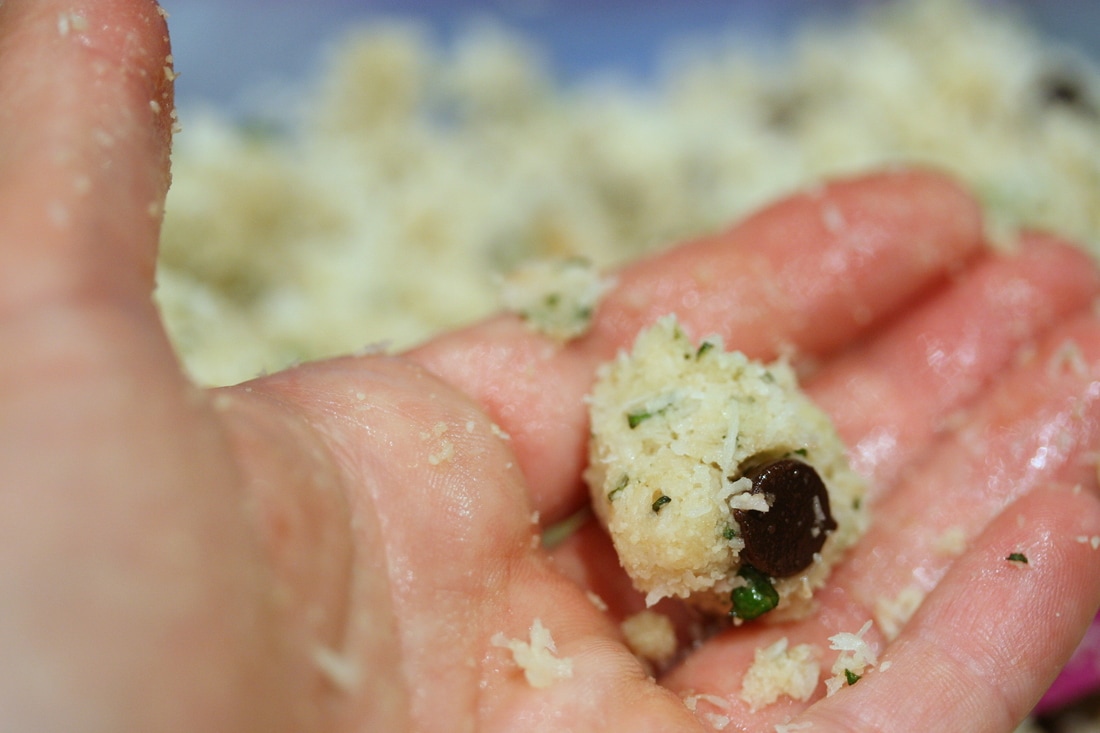
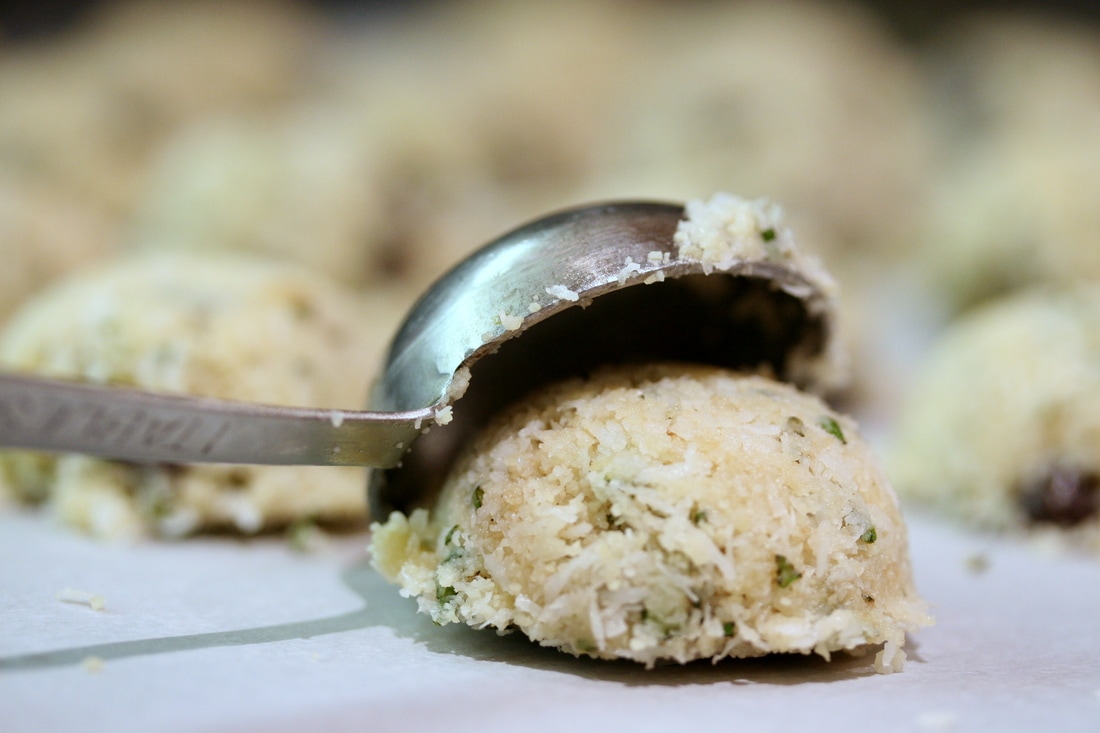
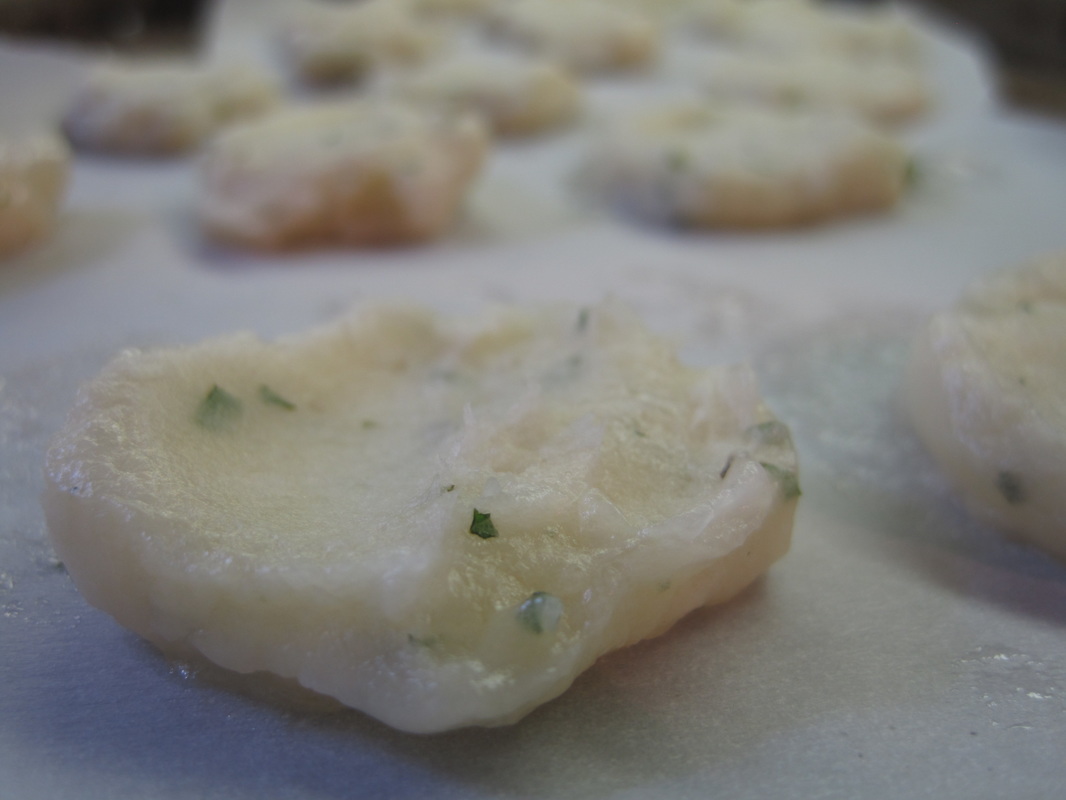
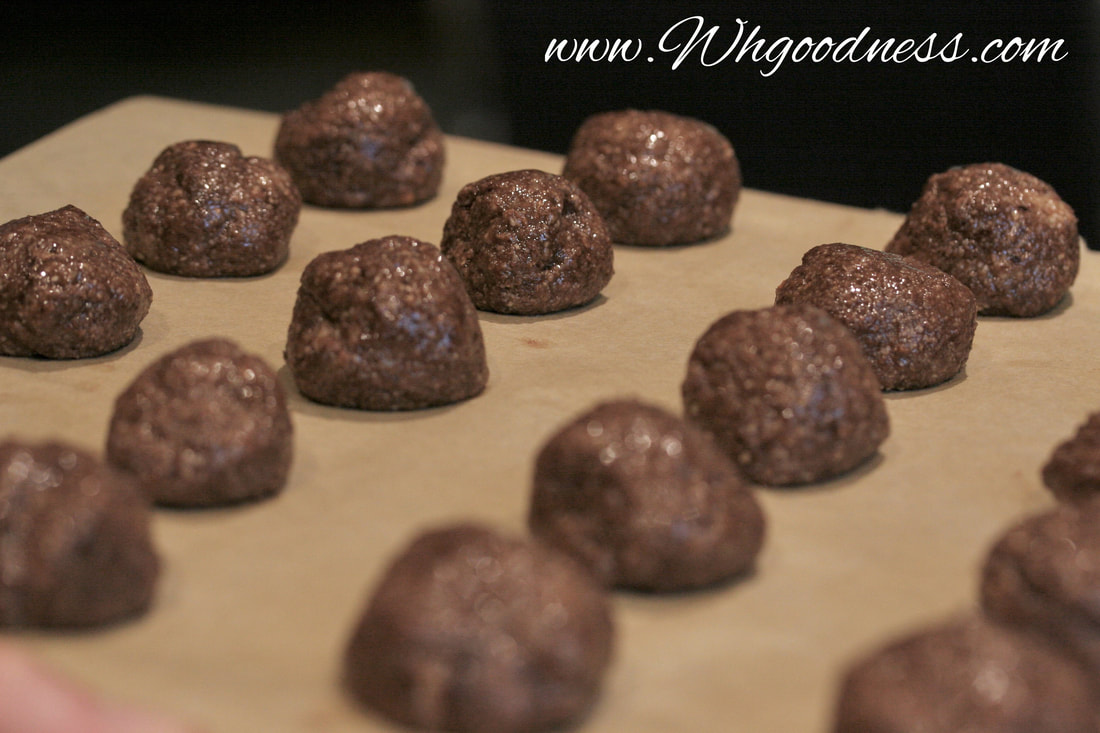
Take one of your whole hazelnuts and wrap it with enough nut paste to cover and roll into a ball. Place on a cutting board lined with parchment paper.

​Freeze for 30-60min.
 
Picture
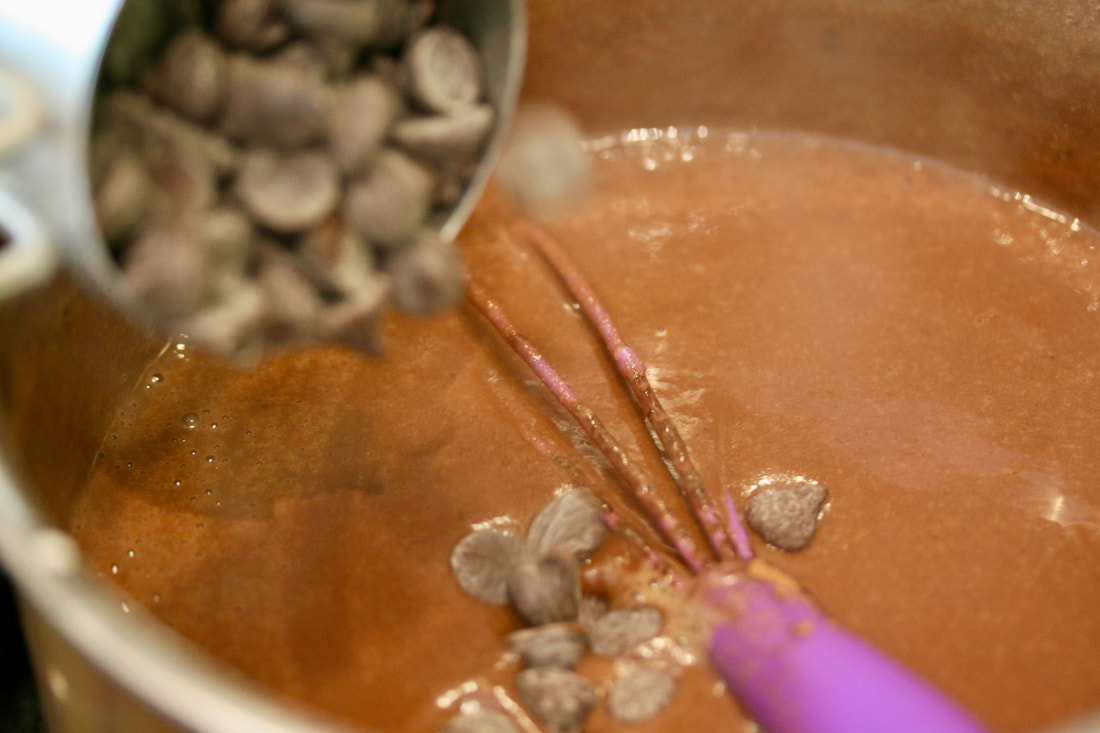
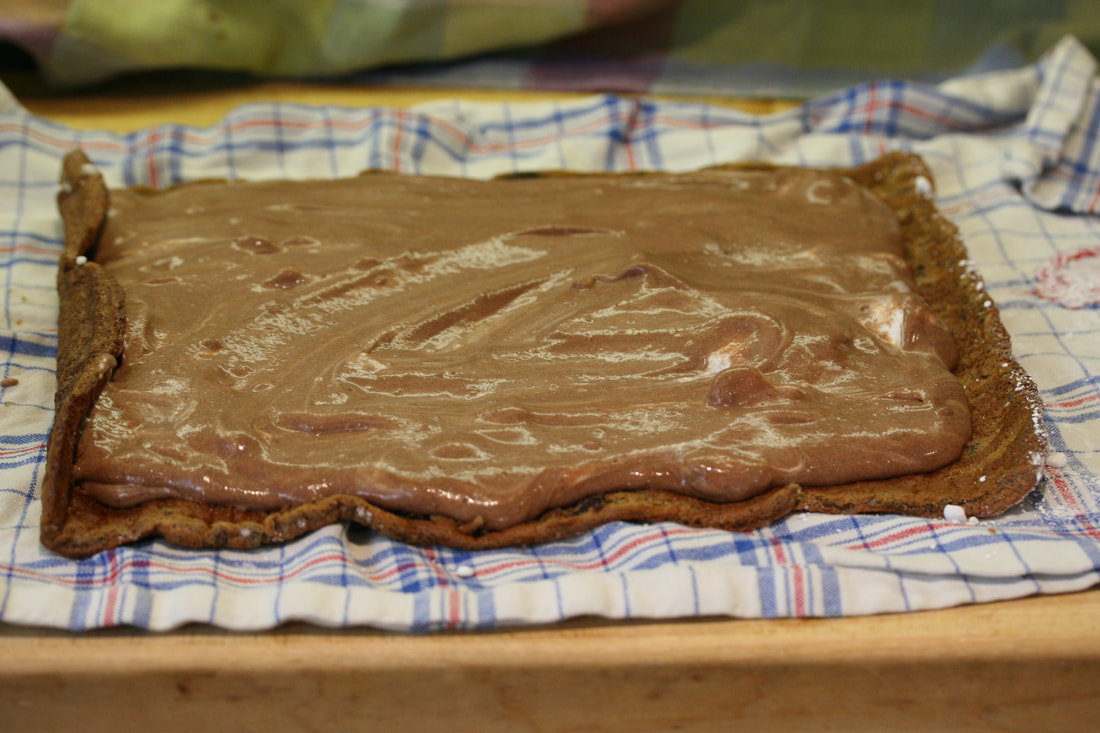
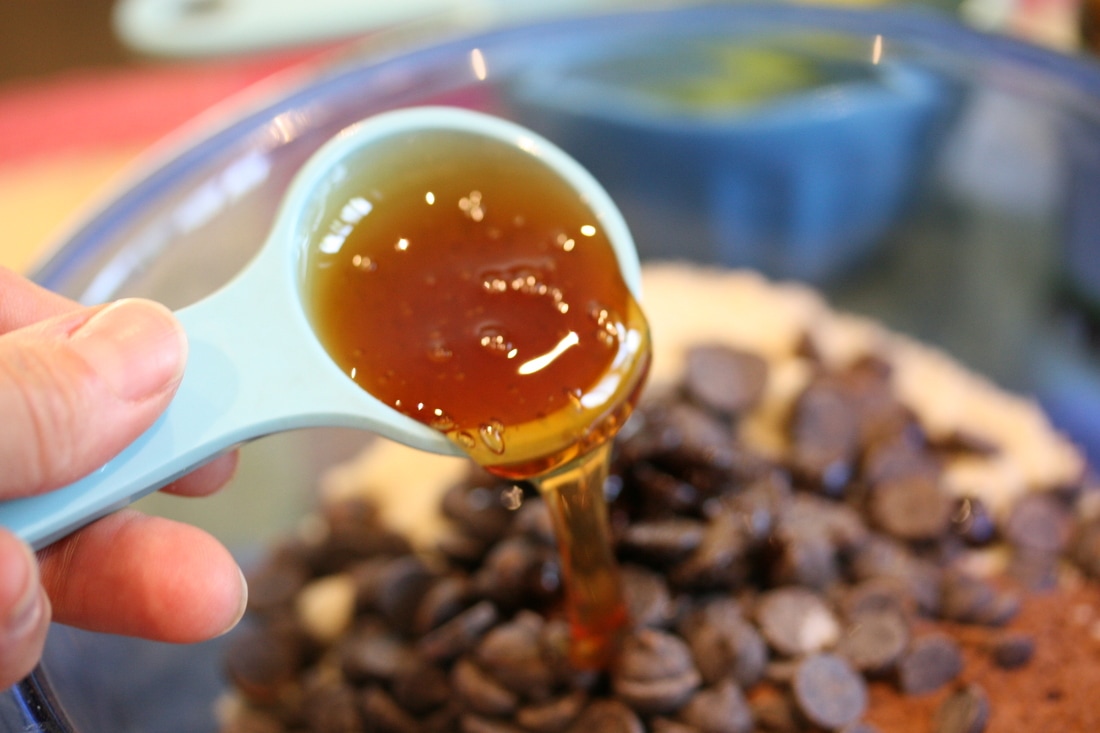
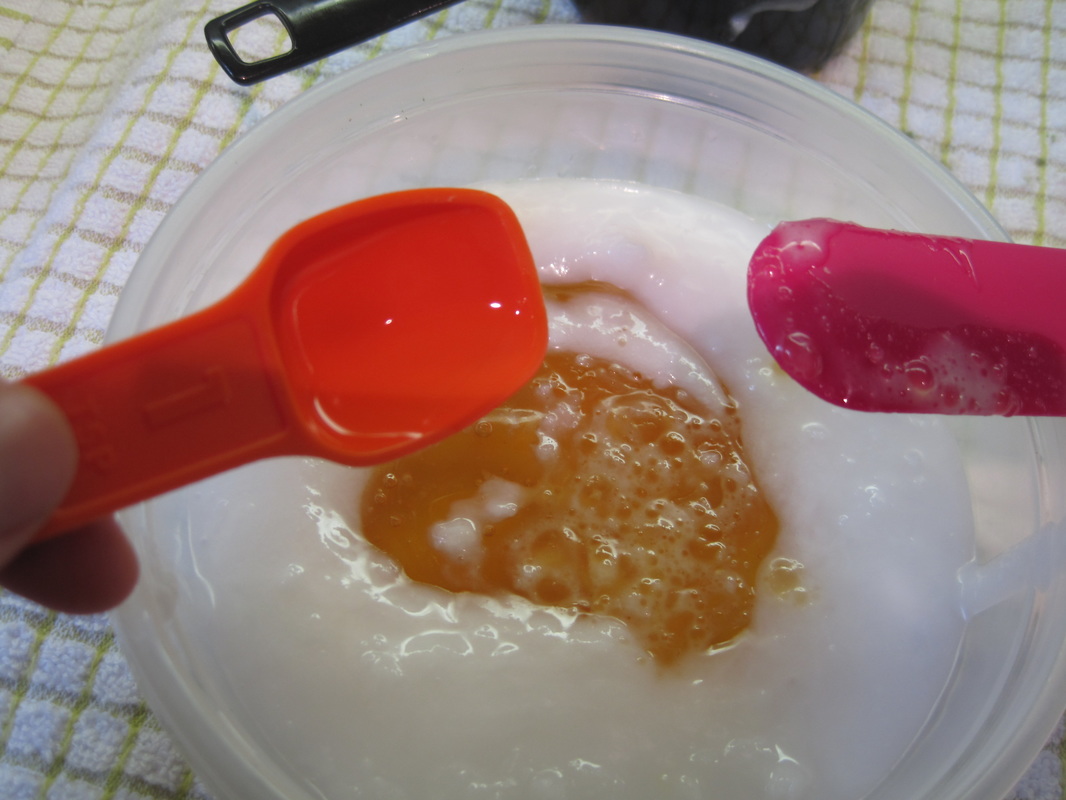
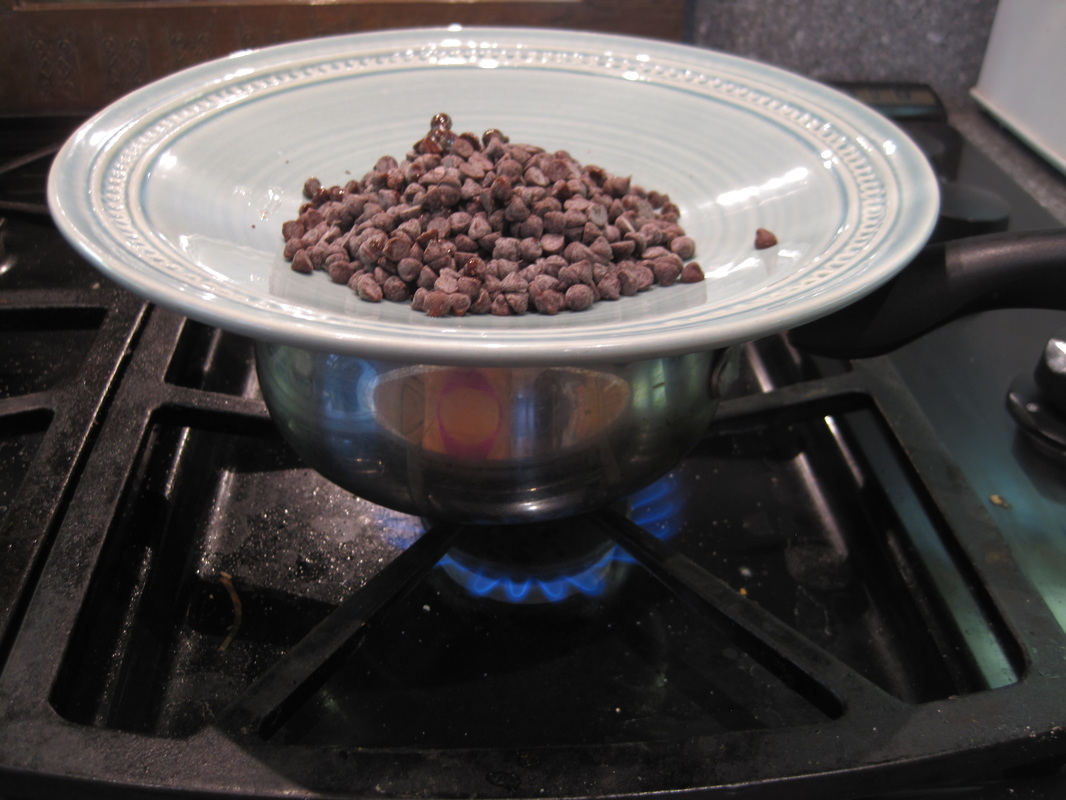
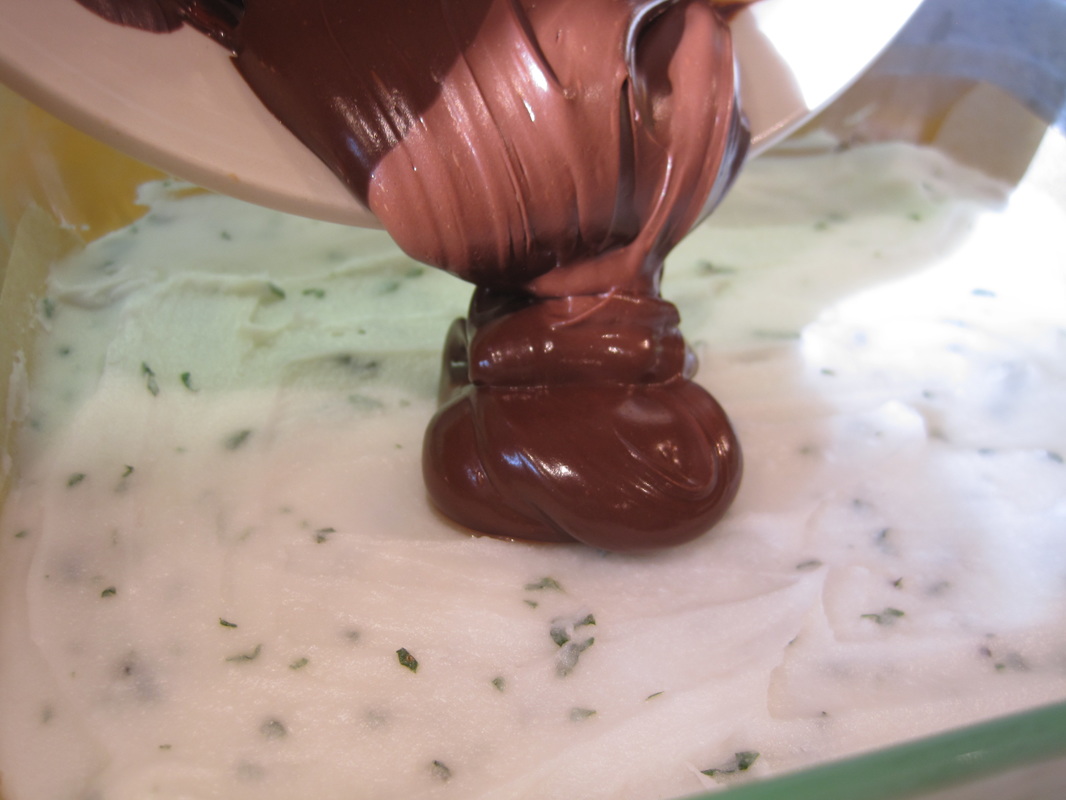
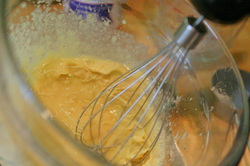
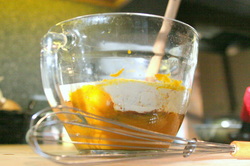
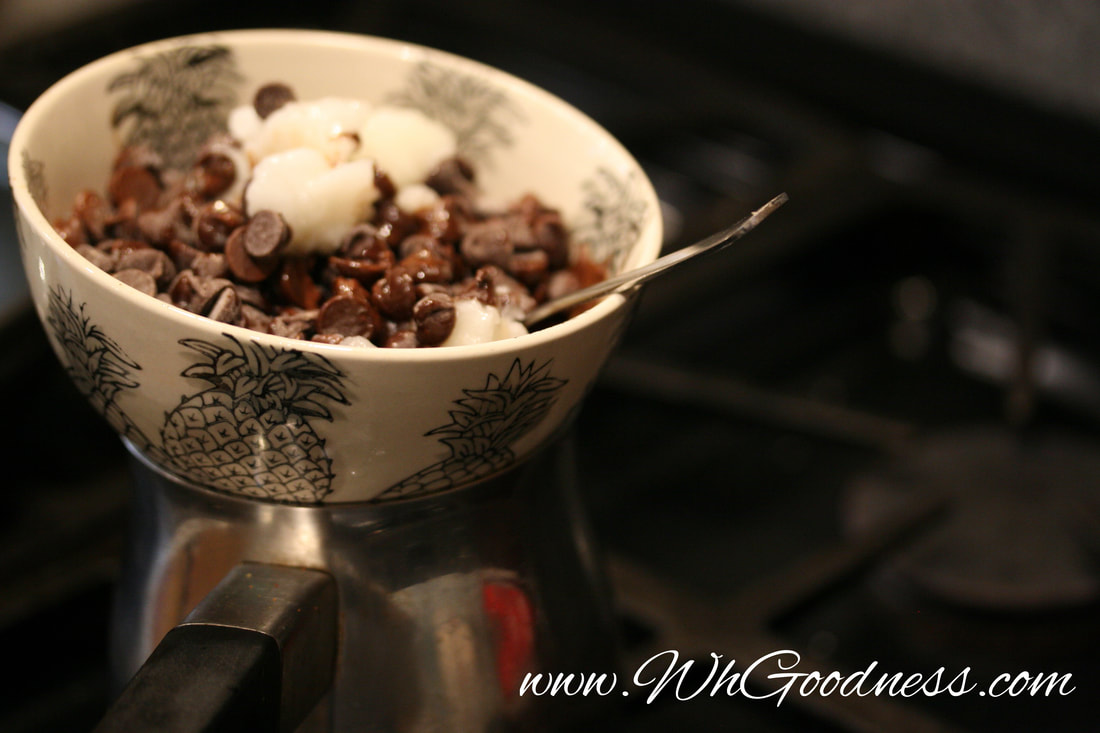
Melt your chips in a double boiler, as to not burn your chocolate.

I like to add some (not virgin) coconut oil to thin the chocolate.

​*This makes the dip have a thinner coat. You don't have to do this if you like the chocolate dip to be thick.
 
Picture
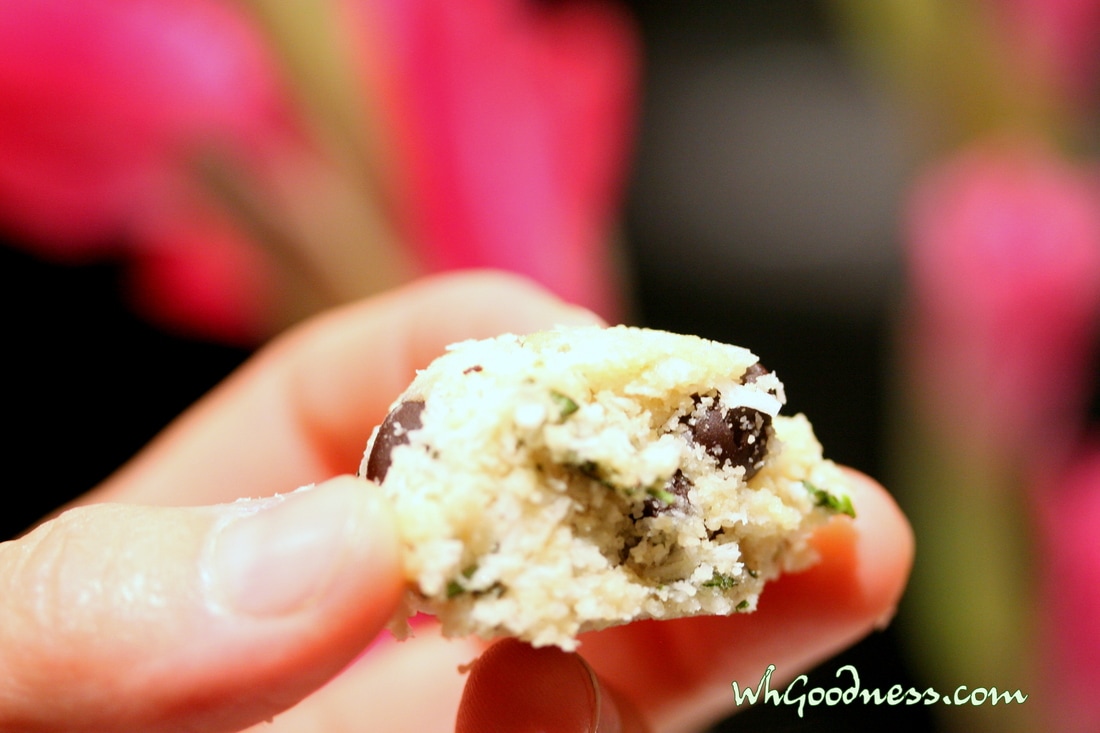
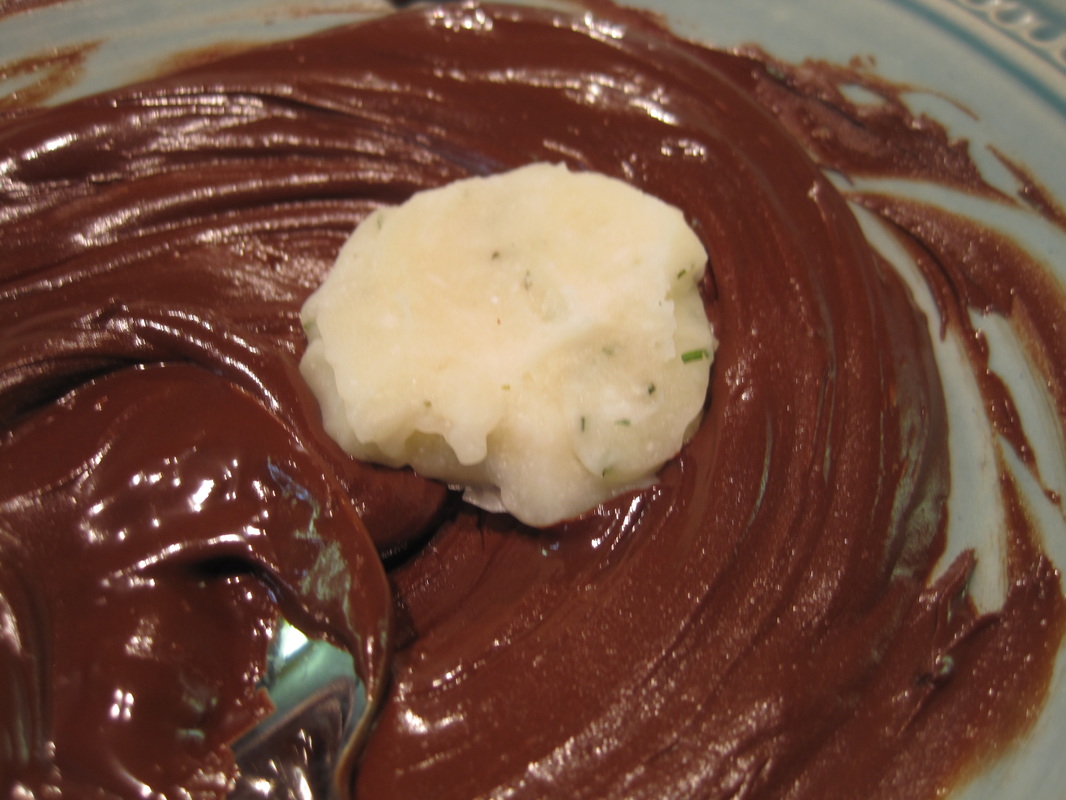
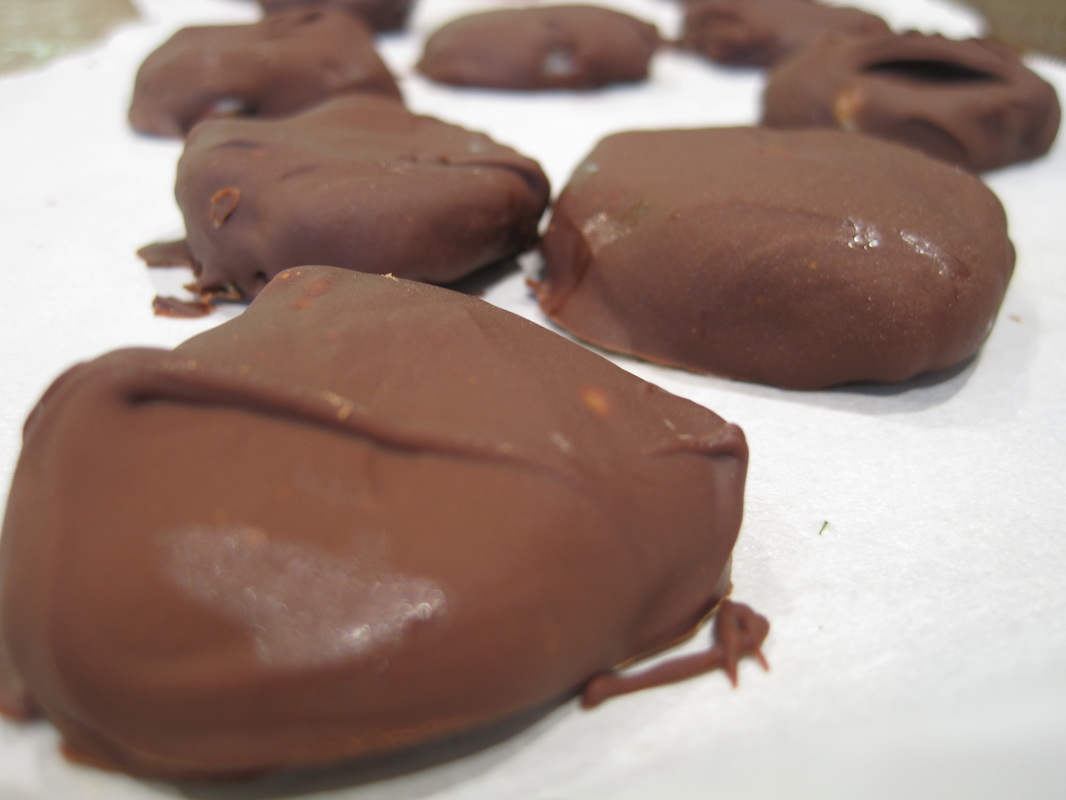
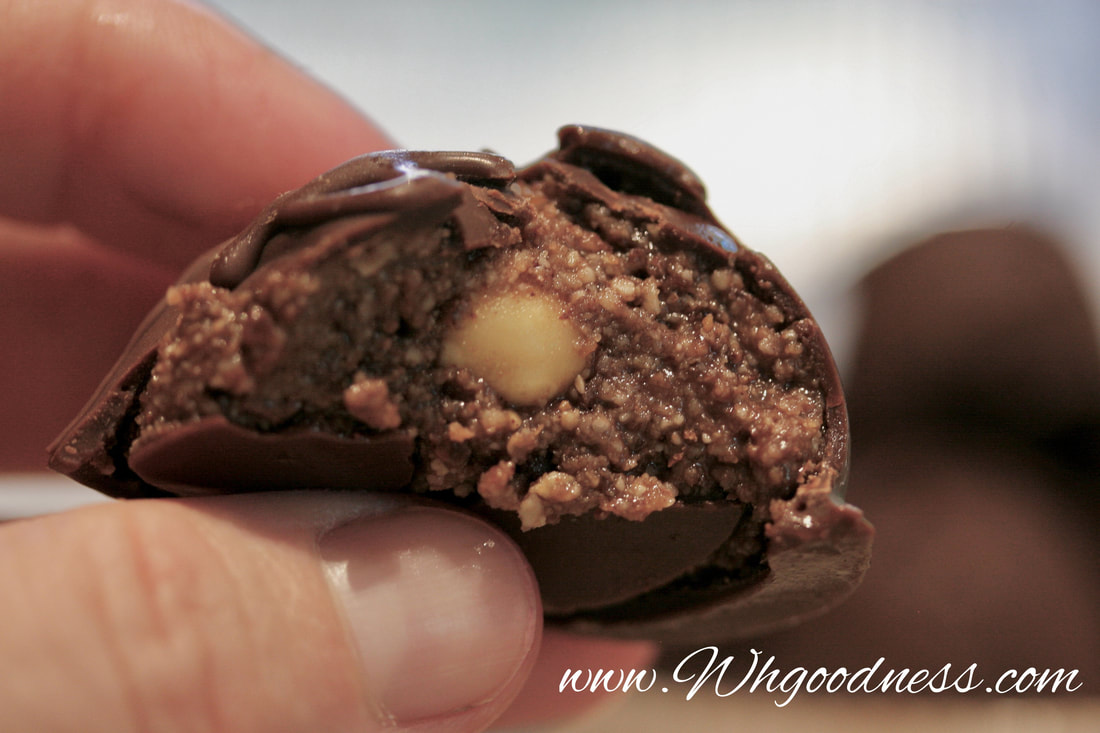
Dip into the melted chocolate and place back on the parchment paper. Refridgerate until chocolate is set. Like 10min.

Try to save some for company... or your family... LOL...

0 Comments

Bµche N⍥el - Yule Log

12/21/2020

0 Comments

 
Picture
Buche de Noel is basically a Roulade that you make to look like a log in the forest at Christmas time. It consists of a light egg sponge (usually chocolate because logs are brown) and filled with the mouse or pudding flavor of choice. It's then rolled up with a spiral of goodness inside. You top it with frosting or chocolate and decorate it like a fallen log on a winter journey to a friend's house. It's fairly simple to make, it just requires 3 things. A thin egg cake, a pudding or mouse and chocolate decorations.The following is my simplified version. It was really fun to eat and give to friends, as I made 3!

​This one is grain and dairy free!
Pudding Spiral:
2 cup Macadamia nut milk (vanilla)
1 Egg
1/3 cup Rice flour
1/2 tsp. Vanilla
2/3 cup Dark Chocolate chips
4 drops stevia
1/3 cup Agave, Honey or coconut sugar
2 Tbs. Cocoa powder (dutch process)
Optional: Peppermint extract 6 drops
Sponge:
6 Egg whites
6 Egg yolks
1/2 cup Coconut sugar
1/3 cup Cocoa powder
2 tsp. Vanilla
4 drops Stevia
1/4 tsp. Salt
​
​Little oil for parchment paper baking
Decoration suggestions: Chocolate chips, marshmallows, peanuts, rosemary sprigs, powdered sugar.... have fun!

Picture
Make the pudding first as it needs to cool. Prebake Oven to 375.

Whisk all the ingredients over low heat until it becomes pudding thick. Place in a bowl and put in the fridge to cool. stir occasionally if you like to not let a skin form. No big deal if it does though. There's plenty of pudding left over. In fact you could make 2 logs with this amount of filling. (Nice to have pudding around for a snack with fresh fruit). 
Picture
Separate your yokes and whites. Whisk your whites until soft peaks form. 
Picture
Then add the coconut sugar slowly until you have nice firm peaks. Set aside or in fridge while you make the yokes mixture. 
Picture
Mix the rest of the song ingredients together:
6 Egg yolks
1/3 cup Cocoa powder
2 tsp. Vanilla
4 drops Stevia
1/4 tsp. Salt

​And then fold into the egg white mixture gently, as to not disturb too much of the air you just whipped into it.
Picture
Spread the sponge onto the oiled parchment paper on a cookie sheet so it's a thin layer. 

Bake one 375 for 12-15 min till it's cooked and springy. 
Picture
Dust a tea towel with powdered sugar or coconut sugar. Tip the cake upside-down onto the towel and peel off the parchment paper. Roll it either lengthwise if you want 2 thin logs or widthwise if you would like a thick short roll with lots of spiral inside. 

Set aside for 30 min or so till cool. 
Picture
Once the cake and the pudding are cooled. spread pudding over the cake leaving a border. Then roll up in the same way you did without the pudding inside. 
Picture
this picture is the short one, so you can see there isn't much spiral but it does make for 2 logs and is still delicious! 

​
Picture
Melt some chocolate chips and cover the log. Make bark-like indents so it looks like a fallen tree. You can also cover marshmallows or nuts with the chocolate for ground cover and texture. I used peanuts and coconut sugar for earth and sprigs of greens and rosemary for that outdoor feel.

Finally dust with powdered sugar for a snowy effect if you like. 
0 Comments

Beef Moussaka

2/17/2019

0 Comments

 
Picture
Mmmmmm... Moussaka!
​I just love the smell of those Middle Eastern spices that fill my home when it's baking in the oven. I make this quite a bit for a few of my clients. Sometimes, dairy free, sometimes onion/garlic free, or sometimes egg free... depending on the needs of the person I'm cooking for that day. Me, I like it with beef not lamb, goat dairy not cow, and without peppers. The version here is no peppers or onions, but it still tastes great if you take any one of these mentioned  ingredients out. Great for a rainy day or big event with friends. 
1-2 lbs. Ground Beef or Lamb
1-2 cups of Onion
2-3 cloves of Garlic
1 can of diced Tomatoes
​1 Zucchini or Summer Squash
1-2 Red Bell Peppers (optional)
1 cup Red Wine
2-3 Eggplants
1/4 cup Raisins (I prefer golden)
Salt/Pepper
Olive oil
1/2 tsp. Cinnamon
1/2 tsp. Ginger
1/4 tsp. Allspice
1/8 tsp. Cayenne
Béchamel Sauce:
1/2 cup GF flour (I prefer 2/3 rice,1/3 arrowroot)
2 1/2-3 cups Milk (I prefer goat or light coconut)
1/8 tsp. Nutmeg
2 Eggs (pasture raised)
1 large Goat Cheese Log
1 lemon zested

Picture
​Slice and bake eggplant on a cookie sheet with olive oil and salt for about 30 min or so till soft and starting to brown. 350 degrees.
Picture
Mince garlic (and onions/peppers if using) and sauté with squash for 3-4 min. then add Beef and cook till almost done.
​
Picture
Add the canned tomato, spices, raisins and S/P to taste. Stir over med flame for 1 min. Shut off burner. 
Picture
Line the bottom of your casserole dish with half of your eggplant. Then pour the beef mixture over this layer. 
Picture
Top with the remaining eggplant.
Picture
For the Béchamel sauce:

Dilute your flour in 1/2 cup of milk and mix till there are no lumps. Then add the egg and mix well. 
Picture
Add the nutmeg, zest and goat cheese to a pan with the rest of the milk and flour mixture. Stir constantly over med flame until it starts to thicken. Don't let it boil. Just stir, stir, stir. Should take about 3-5 min or so. 
Picture
Pour over the eggplant.
​
Bake uncovered for 45min-1hr at 350, or until you see bubbles and the top starting to get brown. 
Picture
Try not to burn your tongue! The smells are intoxicating! You may try to eat while it's too hot!
0 Comments

Raw Mint Macaroons

4/11/2017

0 Comments

 
Picture
Spring is here, and the mint in my garden is happy and abundant! It inspired me to make mint macaroons. You can make these with or without cocoa. The two versions with the same procedures are to follow. Light and not too sweet. Just right. 

Makes 20-25 small (1 tbs.) cookies


Chocolate Mint Macaroon:                                       White Mint Macaroon:
1 cup Blanched Almond Flour                                     1 cup Blanched Almond Flour
1 cup Shredded Unsweetened Coconut                     1 cup Shredded Unsweetened Coconut
1/4 tsp. Sea Salt                                                          1/4 tsp. Sea Salt
1/2 tsp. Vanilla                                                             1/2 tsp. Vanilla 
3 drops Stevia                                                              3 drops Stevia
1/2 cup Duch Process Cocoa Powder                         4-5 tbs. Coconut Oil, melted
4-5 tbs. Coconut Oil, melted                                         2-3 tbs. Honey or Maple Syrup
2-3 tbs. Honey or Maple Syrup                                    ​1/2 tsp. Mint extract
1/2 tsp. Mint extract                                                      1/4 cup Fresh Mint, chopped
1/4 cup Fresh Mint, chopped                                        1/2 cup GF Chocolate chips            
1/2 cup GF Chocolate chips

Picture
Place all your ingredients in a bowl.

​If you can find the mini chocolate chips, they look the best since this cookie is on the small side. 
Picture
If making the white mint cookies, wash and finely chop your mint. Then add to the mixture. 
Picture
Mix everything with a spoon until well combined. You want the "dough" to be slighty wet but also sticky.

If you squeeze some of it, it needs to make a loose ball. 
Picture
Line a cookie sheet with parchment paper.

​Wet an ice-cream scoop or spoon so the "dough" doesn't stick to it. Then scoop and pat the mixture in tight. Tap the side of the spoon and it should slide right out. 
Picture
Let it set up in the fridge for an hour (or freezer for 20min). Store in a glass container in the fridge. 

Great for a light dessert after a heavy dinner. 

​Minty goodness!
0 Comments

Lemon Berry Tart

4/3/2016

0 Comments

 
Picture
This is such a refreshing spring or summer tart! Full of flavor with a zing of lemon and added locally grown fresh berries... When I was a little girl, for my birthday, I would usually be asked what kind of cake I wanted. Chocolate? or Vanilla? Strawberry or lemon was my choice! This tart brings both together magnificently. MMMMMMmmmmmmm! My clients like it so much, that I figured I better share so everyone can benefit. Happy Spring! 


​

Crust:
1 cup Walnuts
1 cup Almonds
6-8 Dates (Madjool are best) 
Pinch Salt
Dash Vanilla

Filling:
1/2 cup Lemon Juice
1Tbs. Zest
6 Drops Stevia
1/4-1/2 cup butter or ghee
5 Large Pasture raised eggs
Pinch Salt
1/4-1/2 cup Wild Honey

Picture
Ok... Let's start with the quality of your dates. Some can get mighty dry over time. Almost turning into sugar. IF you have a dry date or use the other type of date other than Madjool, then you will need to pre-soak or hot soak your dates so they do what they are intended to do in this crust. 

If they are plump, just use as many as you need to to make the crust sticky.
Picture
Soak dates over night if you have the time, or cut in half, take out seeds and let soak 5-10 min in hot water.

Then drain and chop them into small pieces.
Picture
In a food processor, finely chop your nuts into a crunchy consistency. Then add vanilla dates and salt.
Picture
This is the stickiness you need. It should be able to hold together when you pat it into a pie pan.
Picture
Pat it into a pie pan.

You can line it with parchment paper if you like to make it easy to remove the slices of pie later.


* If you have crust left over, you can do this with it!
Picture
Prepare all your ingredients.

Pour all into a pan and put on low heat. 

Gently whisk or stir continuously until it thickens. This will take about 5-10 min. Be patient. It will happen. Just don't let it clump.

​Whisk, whisk, wisk....
Picture
Pour the lemon mixture into your crust and let it cool a bit before placing in the fridge to set.

​You can place berries in a beautiful formation all over the top now, or just put them on later as a garnish.
Picture
Oh yeah!
​

Happy Birthday to my little girl-self!
0 Comments

Grain Free Pizzelles

12/8/2015

0 Comments

 
Picture
If you have a pizzelle maker, you're my hero! Let's be friends! These cookies are so fun and very traditional at the holidays. The smell of anise and sugar is one from my childhood that makes me smile. It's a very particular association that most Italians have. If you haven't tried them before, call an Italian friend and ask if you can borrow their pizzelle maker to try them out. If you have an ice cream cone maker, you can also use that. (A waffle iron is too deep.) These irons are around $39 online. I chose the entertaining size, but they also come in a larger size.    

1 1/4 cup Blanched almond flour (it's important that it's blanched)
2 tsp. Coconut flour
1/2 cup Arrowroot
1/2 cup Maple sugar (or preferred crystal sugar)
1/2 tsp. Baking powder
1 tbs. Anise seeds (or extract -about 2 tsp.)
1/2 cup Grass Fed Butter, melted
​3 Medium sized eggs

​Optional: Lemon zest

Mortar and pestle or coffee grinder
​Pizzelle iron

Picture
Grind your seeds. No need to make it too fine.

​Heat your iron to level 4 or 5.

Picture
Mix your dry ingredients then add your eggs and butter and slowly incorporate until its all evenly distributed. 

*I've tried many sugars and many flours. This combination is my favorite. It's not too sweet and doesn't give me a sugar headache. But also makes them light like regular cookies. 

Picture
Adding a little lemon zest really makes things pop.

You can try it now or after you've made half the batter into cookies, just to compare and see if you like it.
Picture
Add about 1 tsp. or so of batter to the center of each little pizzelle. You'll figure out how much exactly you need for your iron. 
Picture
Picture
Too much!
Perfect.

Picture
As you close the top, let it rest with gravity for a few seconds to cook before pushing down all the way to clip it shut. This makes for nicely formed cookies that are not too thin.

​Try it both ways to see which you like.
Picture
This recipe makes 32-36 cookies in my sized iron. Feel free to dust with powdered sugar of choice if needed. I like them just like this.

Make enough to take to your neighbors. After all, that's part of the joy of cookies!

Let the party begin...
0 Comments

Paleo Peppermint Patties

10/27/2015

 
Picture
This recipe is for my friend Tony. He is a Standard American Eater who just recently found out about the benefits of coconut oil. He was a coconut hater previously. This is  a good reminder that the quality of the food makes a difference. The reason he disliked coconut so much was due to the sweetened, preserved, dried, shredded coconut from childhood. Nothing like fresh young coconut, or Organic cold pressed Extra virgin Coconut oil. He's noticed his skin is softer after months of taking 2 tbs/day. I've done it before, but I don't care for a mouth full of oil, so I was inspired by the peppermint in the garden to make a much more fun version. This is great for the holidays or just anytime. I keep it ready for action for company or after-dinner mint.

1 cup Organic Extra virgin coconut oil
1/3 cup Honey (or other liquid sweetener you prefer)
4-5 drops of Stevia 
1 tsp. Peppermint extract
Optional: 2-3 Tbs. fresh Peppermint

1-2 cups of Organic fair trade dark chocolate chips
Parchment paper 
Tray
Mixing bowl
Small ice cream scoop or melon baller

Picture
In a small bowl, combine all but chocolate in a bowl, mixing with a spoon. If the oil is liquid, put it in the fridge for a while to help it become more solid.

Smash any clumps of coconut oil against side of the bowl until mixture is smooth.
Picture
Optionally, add some chopped fresh mint. This adds a nice color and taste.
Picture
Freeze mixture for a few minutes until it starts to harden, then remove from freezer.
Picture
Scoop out equal amounts of your oil mixture. You can use a small ice-creamscoop or melon baller. Scoop out onto parchment paper on a tray. Then freeze till hard (about 5 min).

Then press them down to flatten. Place back into the freezer.
Picture
Set up a double boiler. A plate onto of a pot with boiling water will do just fine. Just be mindful to just gently melt the chocolate. Do not over heat. 

Once melted and smooth. Take off heat and let it cool down. If too hot, it will melt the oil and just make a mess when you dip the flattened patties into it. 

Picture
Dip each one in the chocolate. covering each one evenly and completely.

​Set back onto the parchment paper.

Picture
To set them up, place in the fridge or freezer.

​I store them in the fridge because I live in a hot climate and don't want them to melt.  

Optional methods:

Picture
Making cups:
Line with melted chocolate. Freeze
Add coconut mixture. Freeze
Add melted chocolate to top. Freeze
​
Picture
Picture
Making Layers:
Parchment paper
Chocolate. 
Coconut mixture. Fridge
Chocolate.
Picture

Marinated Olives

1/3/2014

0 Comments

 
Picture
Family has come into town for the Holidays and we made some marinated olives together. Olives for friends and family has become a tradition, and Pappa D. has been asked so many times how he makes them, that we decided to make a big batch and write it down to share. Hope you love them as much as us.  Spicy and tangy, they're perfect as an anti-pasta or snack. They take 2 weeks to marinate, but well worth the wait.

We made 10 bottles, but I this recipe for 2.


2 jars of 35 oz. Olives with pimentos (I recommend organic, but these were bought in bulk from Costco)
1/3 of an Onion
1 cup Pickled Jalapenos
(or 1/4 cup fresh jalapenos)
8 cloves Garlic

2-4 tbs. Dijon Mustard (depending on the strength)
2/3 cup Lemon Juice
2/3 cup Balsamic Vinegar
2/3 cup White or Champagne Vinegar

1 cup Olive Oil
1 cup Avocado Oil


Picture
Picture
Open your jars and pour  the olives through a strainer so you have empty bottles to work with.

Picture
Add 1/2 cup of jalapenos to each jar.

Picture
Then slice the onion and add 3-4 slices to each jar.

Picture
Press 4 cloves per jar. Then fill the jar half way with olives.

Picture
Prepare your marinade:
(This also makes a great salad dressing.)

​Take 2-4 tbs. of Dijon. Dijons can vary in strength. If you use Grey Poupon use 4 tbs. If you use a strong one like the one in the picture, I suggest you use more like 2 tbs.

Picture
Whisk the lemon juice and mustard together. The citric acid helps hold the oil and vinegar together.

Then whisk in the vinegars and the oil.

Picture
Pour enough marinade in to cover the 1/2 filled jar and place the top back on.

Picture
Toss or shake the jar to mix the olives with the peppers and onions.

Picture
Pack the jar with olives back to the top.

Picture
Pour enough marinade to fill it all the way and replace the lid. Refrigerate for 2+ weeks.

If you like live pickles, you can leave them out of the fridge for 1-2 days with just cheese cloth over each jar. Then lid and refrigerate. Great gifts. We made 10 jars!

0 Comments

Pumpkin Pie

1/2/2014

0 Comments

 
Picture
Mmmmmm... Pumpkin Pie! I don't eat much cow dairy, but I've included some heavy cream in this pie, cuz once a year I have whipped cream on my pie, so why shy from it inside as well? (You can use coconut cream if you prefer.)

I will make a vegan version another time for your reference. Today... It's a traditional filling with grain-free crust!


CRUST:
2 tbs. Coconut Sugar
3 large Pasture Eggs or equivalent Egg Substitute
1/2 cup Coconut Flour
1/8 tsp. Sea Salt
1/3 cup Macadamia Flour (or store bought blanched almond flour)

1/4 tsp. Baking Powder

FILLING:
15 oz. can of Organic Pumpkin Puree
2 Pasture Eggs or equal Egg substitute

1/2 cup Organic Heavy Wipping Cream or Coconut Cream
5
drops Stevia
3 1/2 tsp. Pumpkin Spice
2 tbs. Grass Fed Butter or Coconut Oil
1/2 tsp. Vanilla
1/2 tsp. Sea Salt


OPTIONAL:

1/4 cup Date Syrup or Coconut Sugar
(I personally don't need it very sweet. Sweeten at your own discretion.)

Picture
Line your pie pan with parchment paper and pre-heat your oven to 375.

Picture
Mix your crust ingredients together.

Picture
Pat into your pan from the center to the sides and make a nice edge by crimping with your fingers.

Picture
Whisk your filling ingredients together in a bowl until creamy and smooth.

Picture
Pour filling into the crust and any extra pour into a small baking dish for a nice bonus pudding!

Bake on 375 for 45min.-1hour. I pace it in the center of the oven with foil under it to help evenly heat it and not burn the crust. When the top no longer wiggles if you give it a gentile shake, then it's done.

Picture
Let it cool while you make the Whipped Cream!

0 Comments

Vegan Eggnog

12/19/2013

0 Comments

 
Picture
Smooth and creamy with no heavy after glow. This nut milk nog is a hit in my house!

1 cup Coconut Cream or other nut milk of choice (store bought Almond milk will do in a pinch or you can make it from scratch -it doesn't take much effort)
1 ripe Banana
1/2-1 tsp. Cinnamon
1/4-1/2 tsp. Nutmeg
1/8 tsp. Vanilla Bean seeds or 1/4 tsp. Vanilla
1/3 cup Toasted nuts (Almond, Macadamia, Coconut... have fun each time choosing!)

Blend all smooth in a blender and top with cinnamon or nutmeg as a garnish.


0 Comments
<<Previous
    Picture

    Author

    Mici is the owner of Wholesome Goodness.

    These recipes are focused on wholesome ingredients from the garden or farm with very little sweet if any. They are gluten or grain free and organic, grass-fed or pasture raised.

    She menu plans, shops, cooks, cleans and fills the fridge with healthy Gluten-Free meals and naturally sweet desserts!

    She also teaches and does personal menu planning for those with restricted diets.

    To sign up for blog email  updates click:

    Email Updates

    Categories

    All
    A Beef
    A Chicken
    Baking
    Breakfast
    Dehydrator Fun
    Holidays
    How To...
    Juices & Smoothies
    Kitchen Tricks
    Light Breakfast
    Macrobiotic Techniques
    Non-Bovine Dairy
    Paleo
    Paleo Quality
    Party Dishes
    Raw
    Sauces & Dressings
    Simply *Sweet*
    ~Snacks~
    Soups & Stews
    Veggies!

    Questions?

Submit
"I have been richly blessed by Mici’s healing presence in my life.  As a facilitator of personal transformation, her passion and dedication to serving others is evident.  I have grown tremendously from her gifted use of emotional healing work, nutritional counseling, culinary artistry and organizational skills.  She unfailingly demonstrates the highest efficiency and effectiveness, true strength of character, wisdom reaching well beyond her years and a generous heart of gold."    

~Gabriella B.


Proudly powered by Weebly