Organic Whole Foods Made with Integrity
Wholesome Chef Mici
  • Home
  • About Mici
  • Services
  • Recipe Blog
  • Photos
    • Paleo Pix
    • Macro/Desserts Pix
  • Videos
  • Gluten?
  • Paleo?
  • Like Minded
  • Testimonials
  • Contact

Fermented Kayu Bread

11/11/2021

0 Comments

 
Picture
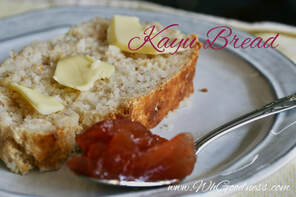
Kayu bread is a macrobiotic delicacy. This Gluten free version takes me back to my Kushi Institute days. We didn't eat much baked flour goods, so it was always a special occasion when we had enough rice leftover to ferment into kayo bread! This is a chewy almost pudding like bread that makes any snack or meal hearty. 

Enjoy with butter and jam!

  • Short grain brown rice (I used 2 cups dried and pressure cooked with double water)
  • Miso of choice (I prefer chickpea miso, but any will do)
  • Optional probiotics (I just used what I had in fridge)
  • Gluten free flours of choice (I like Pamela's Pancake Mix and Bob's 1 to 1 GF blend)
  • Honey
Picture
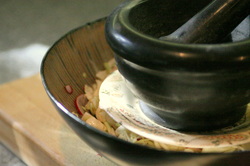
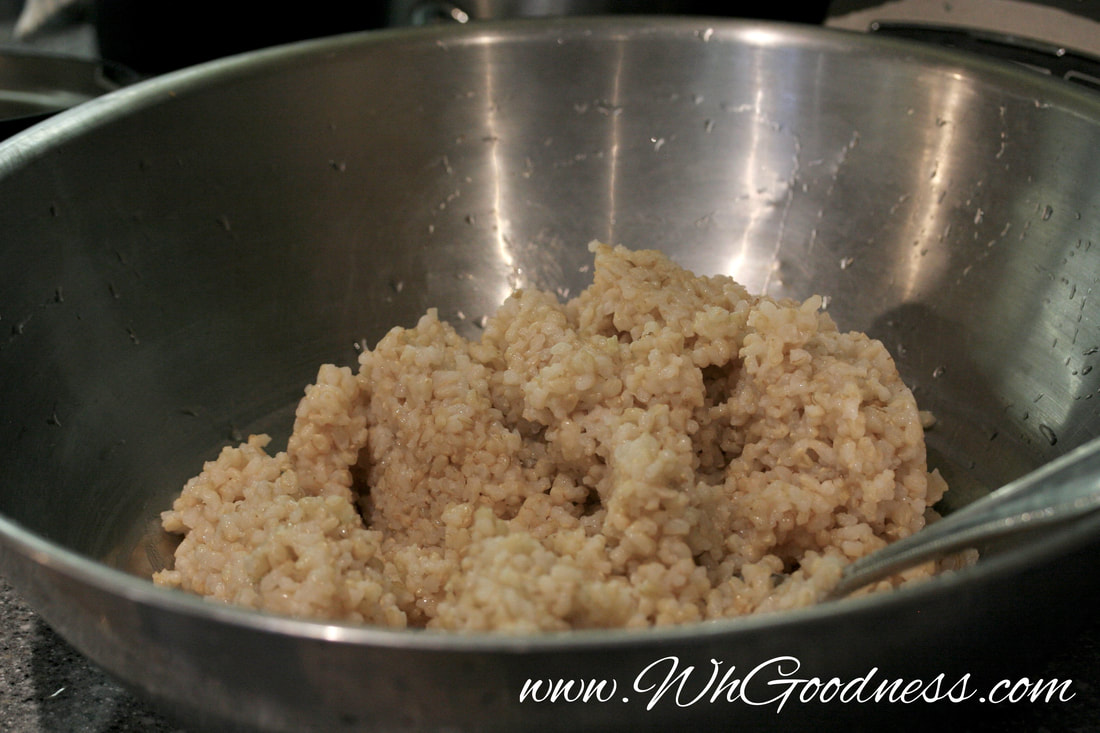
Place your rice in a bowl and add 1-2 cups of water, 2 Tbs. miso and 1 capsule of probiotic. 

Cover with plastic wrap and make some holes for air circulation.


Picture
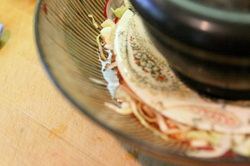
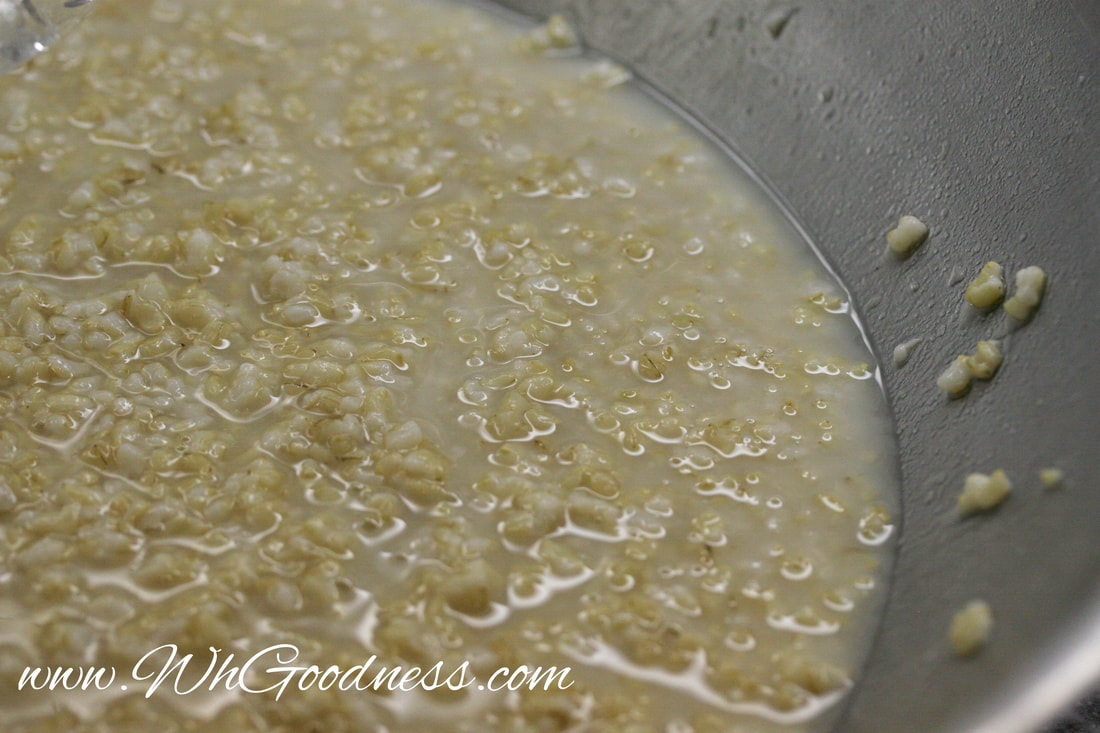
After a day, it will release a lot of water and look like this. Stir 2x/day.
Picture
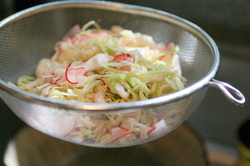
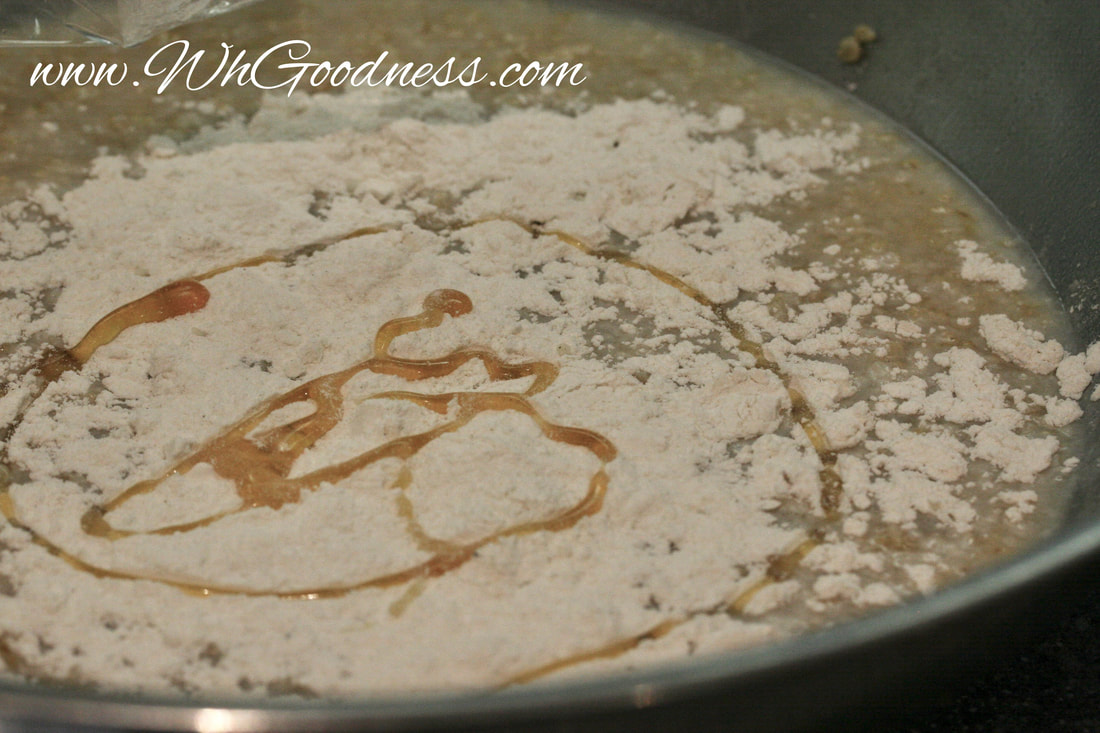
On the second day, add some flour and honey just to feed the fermentation process. Cover and let sit for another 1-3 days (staring 2x day). It should smell fermented but not like it's gone bad. This is hard to teach. You just have to trust your nose and instincts as to when its ready to put in oven. 
Picture
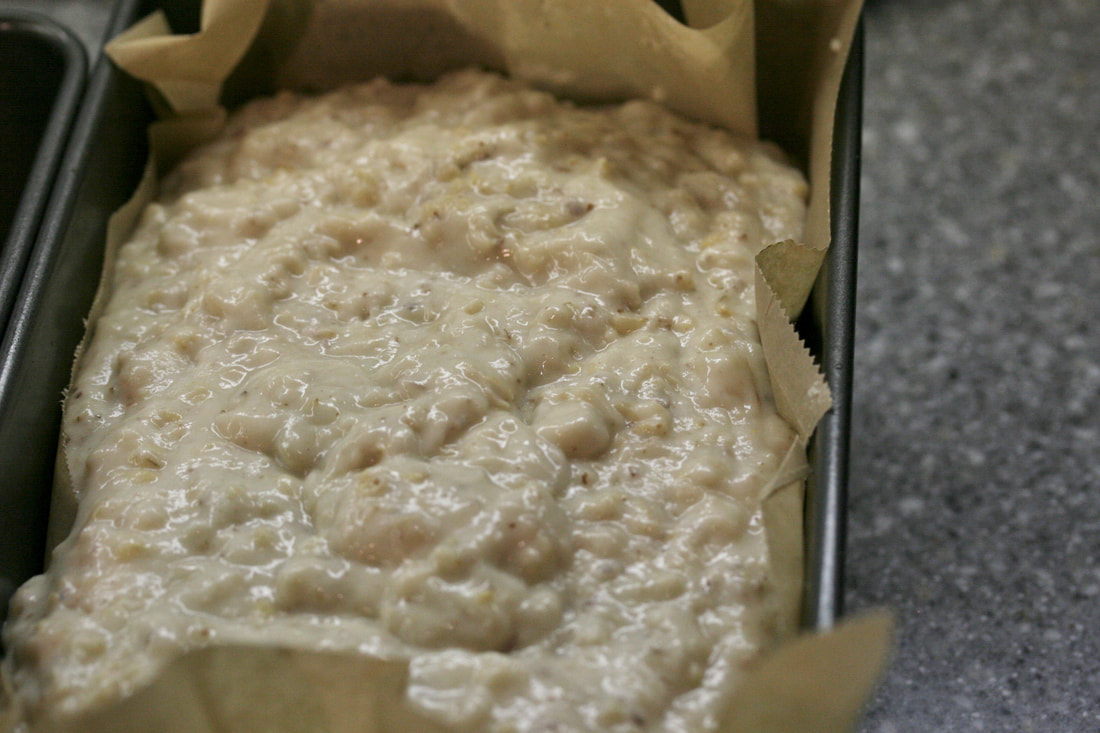
Line your bread pans with parchment paper and spray with oil so the dough won't stick. Mix in enough flour to create a thick cake-like batter.
Picture
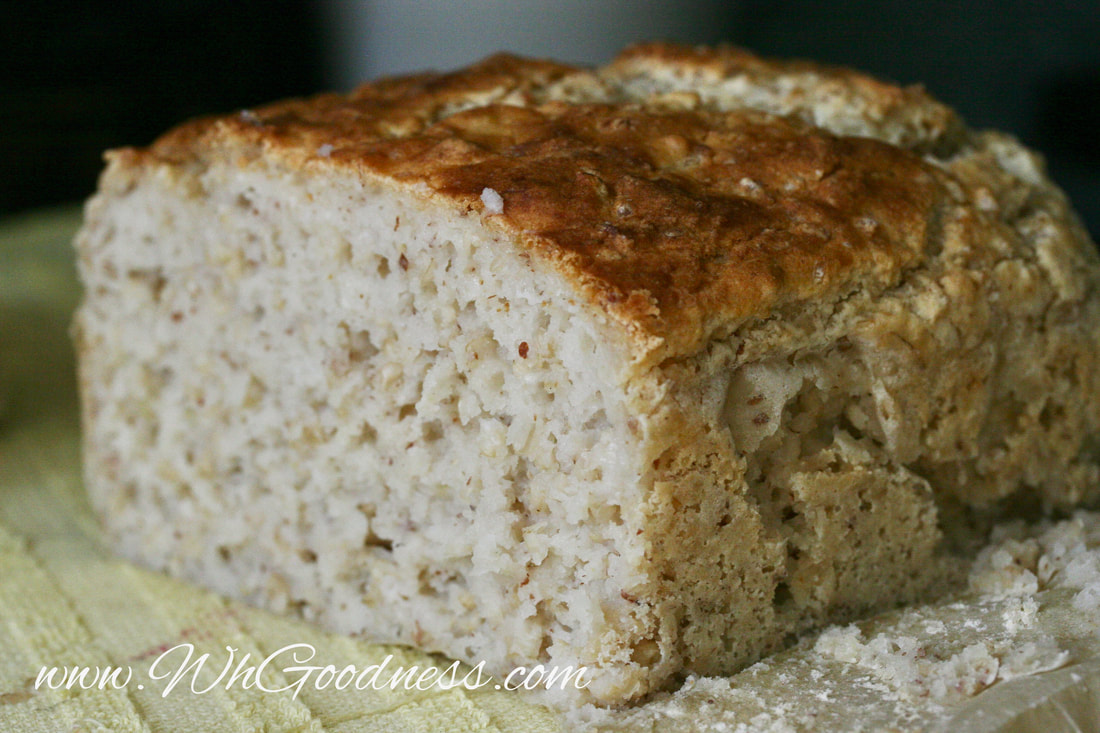
Bake at 350 for at least an hour. The top will turn brown and it will rise a bit, but it will also always be sticky inside due to the amount of rice, so use your instincts as to when to take out. Because I slice each spice and toast in a toaster oven each time I have it, that crisps it up a bit before eating. 
Picture
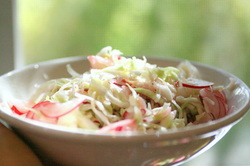
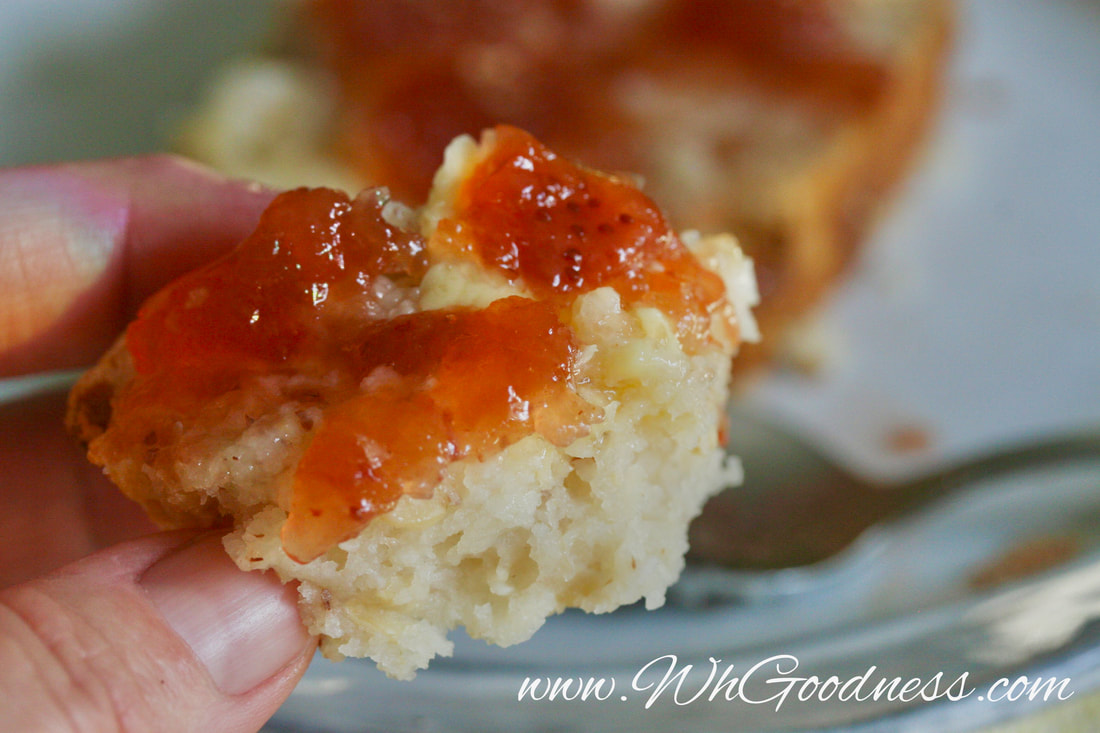
Soft and delicious. Add favorite toppings and don't eat it cold. Much better warmed up and crisped a bit on edges. 
0 Comments

Nori Bandage

7/17/2015

0 Comments

 
Picture
Black band-aids are the best! They stop the bleeding and the pain in seconds. Full of minerals and the power to shrink wrap bacteria out, they are perfect to keep in any kitchen or first aid kit. No need for adhesive. Read below...

Disclaimer: Do I really need one, folks? Go to the hospital if you are really cut. This is for a minor issue. Even though I've really cut deep, through my nail and this worked like a charm, please use your discretion to decide when a cut needs medical attention. 


Nori sheet, cut into strips

Picture
Cut your nori, or if you're in a hurry, just tear off a piece large enough to cover the effected area. This is best suited for fingers as the nori can completely wrap around. Do not use salted or oiled nori snacks. Just plain old toasted or raw nori for making sushi.

Picture
Take effected finger and wrap all around with a strip of the nori. Then place in your mouth to moisten or gently rub some water on it to start the shrinking process.

Have you ever noticed how tight sushi is wrapped? When nori paper gets wet it contracts slightly making the sheet more durable and strong. Perfect to shrink wrap your finger to stop bleeding or just to hold the skin together so it can heal.
Picture
Watch the shrinking happen before your eyes. The pain should subside and even completely go a way quickly. The minerals in the nori help with that.

Now, don't get it wet. It will fall apart and you'll have to re-apply.  I know nori is irresistible, but don't eat it either. It should hold up for a few hours to calm the situation down.

Picture
You may be amazed at the results. This is my finger the next day. I had cut all the way through the nail. It never split or peeled off. It was almost like it fused back together.

For long term bandaging use a band-aid.

This technique is obviously not for open wounds.
0 Comments

Marinated Beets

1/6/2014

0 Comments

 
Picture
I used to really dislike the earthy taste of beets. I've learned to love them by making them sweet from broiling, juicing and marinating them. If you don't like beets, think again. Try them in a new way with new eyes for this new year.

1 large beet
2 tsp. Ume Vinegar or 1 tsp. Sea Salt
1-2 tbs. Red wine vinegar or favorite of choice
2 tbs. Olive or Avocado Oil

Picture
Wash and peel your beets. I like to do it in running water.

Then grate them on a fine setting. The finer the sweeter they will be. I use the sink for easy cleanup. Beets can be messy. Try wetting your hands first so the red doesn't stick to you like glue.

Picture
Pour in your oil, vinegar, and salt. Let set for 15+ minutes. The hardest part about this dish is the grating. If you have an electric grater, go for it, but they never seem to have the settings to make it fine enough.

Picture
Enjoy on top of salad or as a side dish of its own.

0 Comments

Pressed Salad

11/16/2013

0 Comments

 
Picture
What the...?! Why would you want to press a salad? Most people like them un-wilted. In Japanese style macrobiotics, the pressed salad is used for live enzymes from raw food, but adding a pickling quality to make it more digestible. This is particularly useful for those with poor digestion that are sick or weak. I'm neither, but still love the crunchy, wilted style of this salad.


Hard veggies of choice (just choose 3):
Examples:
Cabbage (green or Napa)
Red Radishes or Daikon
Red Onion
Broccoli Stems
Cucumbers

If you like, something green (just choose 1):
Examples:
Root Tops for color (carrot, radish, daikon...)
Arugula
Collards

Ume Vinegar or Sea Salt
Large Bowl
Small Plate
Something Heavy


Picture
The trick to a good pressed salad is that you need to slice all your vegetables very thin. This way the pickling process happens quickly.

Picture
Here I've used Cabbage, Red Onion...

Picture
...and Radish.


But this dish is a great way to use those pesky broccoli stems that they make you buy with the tops! They're tender and have a light broccoli taste.

Picture
Take the tops off for use in another dish.

Picture
Peel the hard fibrous skin off with your knife.

Picture
Slice on a thin diagonal.

Picture
And then into a thin matchstick.

Picture
Place all your sliced veggies in a large bowl and knead in ume vinegar or salt. I can't tell you exactly how much as there are too many variables, but make sure that the veggies glisten or actually have water drip off them when you squeeze them. This amount of wetness will vary depending on the vegetable you choose.

Picture
Place a small plate on top of the veggies and then something heavy on top of the plate. This is where pressure and time help the salt to change the energy and start the pickling process.

Picture
After 15 minutes you should see water rise above the vegetables. If you don't then you need more ume or salt.

Then let it press for 30min to an hour depending on your choice of veggies.  Harder veggies can have a longer time.

Picture
Strain the excess water and squeeze the veggies.

Taste them, too. If they are too salty, then rinse them and squeeze the excess water off.

Picture
Ready to eat as is or with your favorite dressing.

I like my dairy-free ranch. It makes it taste like coleslaw.

0 Comments
    Picture

    Author

    Mici is the owner of Wholesome Goodness.

    These recipes are focused on wholesome ingredients from the garden or farm with very little sweet if any. They are gluten or grain free and organic, grass-fed or pasture raised.

    She menu plans, shops, cooks, cleans and fills the fridge with healthy Gluten-Free meals and naturally sweet desserts!

    She also teaches and does personal menu planning for those with restricted diets.

    To sign up for blog email  updates click:

    Email Updates

    Categories

    All
    A Beef
    A Chicken
    Baking
    Breakfast
    Dehydrator Fun
    Holidays
    How To...
    Juices & Smoothies
    Kitchen Tricks
    Light Breakfast
    Macrobiotic Techniques
    Non-Bovine Dairy
    Paleo
    Paleo Quality
    Party Dishes
    Raw
    Sauces & Dressings
    Simply *Sweet*
    ~Snacks~
    Soups & Stews
    Veggies!

    Questions?

Submit
"I have been richly blessed by Mici’s healing presence in my life.  As a facilitator of personal transformation, her passion and dedication to serving others is evident.  I have grown tremendously from her gifted use of emotional healing work, nutritional counseling, culinary artistry and organizational skills.  She unfailingly demonstrates the highest efficiency and effectiveness, true strength of character, wisdom reaching well beyond her years and a generous heart of gold."    

~Gabriella B.


Proudly powered by Weebly