Well, it's the Holiday Season. No matter what holiday you do or don't celebrate, most people have parties to attend and want to bring something to offer. This fudge recipe is simple and it's sure to be a hit at your gathering. It melts in your mouth and doesn't give you a crazy sugar high. Just good fats. And if you're in ketosis like me, that's mostly what you're after.
1/3 cup Coconut Oil (I prefer the neutral taste of this one)
1/3 cup Grass Fed Butter
3/4 cup Nut or Seed butter of choice (I happen to have used my favorite peanut butter)
Pinch of Sea Salt
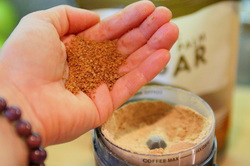
1/2 cup Cocoa Powder (I really prefer dutch process over raw cocoa for this recipe)
1 Tbs. Liquid Sweetener of Choice (Date syrup, Maple syrup, Honey, Coconut syrup...)
4-5 Drops of Stevia
Optional:
1 tsp. Mint Extract
1/2-1 cup of raw Nuts or Seeds
Sprinkle shredded Coconut on top
Double boiler or bowl over a pot
1/3 cup Coconut Oil (I prefer the neutral taste of this one)
1/3 cup Grass Fed Butter
3/4 cup Nut or Seed butter of choice (I happen to have used my favorite peanut butter)
Pinch of Sea Salt
1/2 cup Cocoa Powder (I really prefer dutch process over raw cocoa for this recipe)
1 Tbs. Liquid Sweetener of Choice (Date syrup, Maple syrup, Honey, Coconut syrup...)
4-5 Drops of Stevia
Optional:
1 tsp. Mint Extract
1/2-1 cup of raw Nuts or Seeds
Sprinkle shredded Coconut on top
Double boiler or bowl over a pot
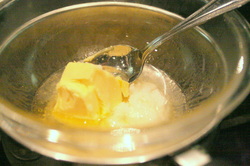
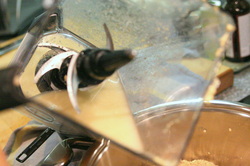
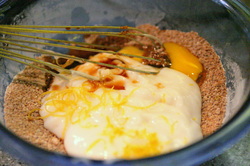
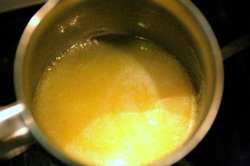
Melt your butter and coconut oil over steaming water in a bowl. I just brought the water to a boil and then shut it off to ensure a slow gentile process.
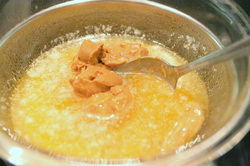
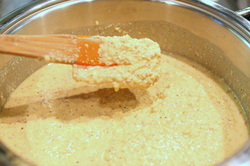
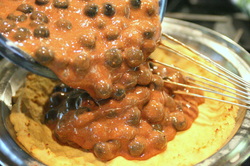
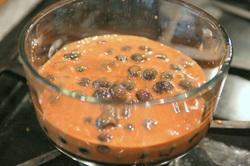
Then add your nut butter and let it melt in till creamy and smooth.
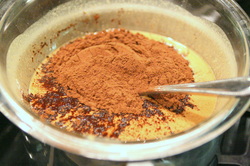
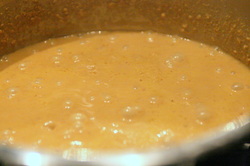
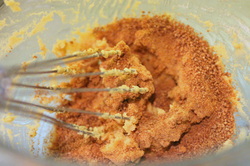
Add your vanilla, salt, cocoa powder and stir till smooth.
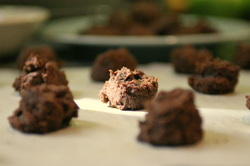
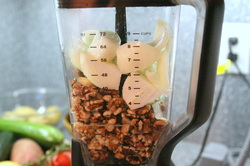
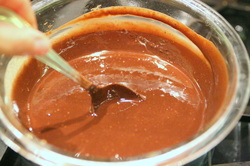 At this point you are done for basic fudge, but there are some wonderful options here. For creamy mint fudge (my favorite): add 1 tsp. of mint flavor | 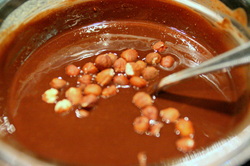 Or you could leave the mint out (or in) and add some nuts or seeds. I've chosen hazelnuts here. This adds a lovely crunch to the final product. |
Then pour into a parchment lined pan. the size will vary depending on if you like the chunks thick or thin bars. What ever you like.
The parchment paper is for easy removal. You could do as I have in the photo, or just line the bottom.
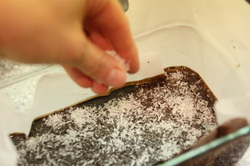
Sprinkle coconut shreds on top for some snowy fun!
Let it set up in the fridge (or freezer for chocoholics) for about 2 hours.
The parchment paper is for easy removal. You could do as I have in the photo, or just line the bottom.
Sprinkle coconut shreds on top for some snowy fun!
Let it set up in the fridge (or freezer for chocoholics) for about 2 hours.
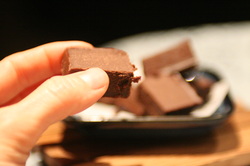 Creamy | 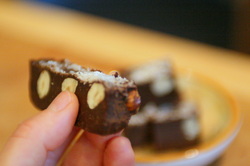 Crunchy |