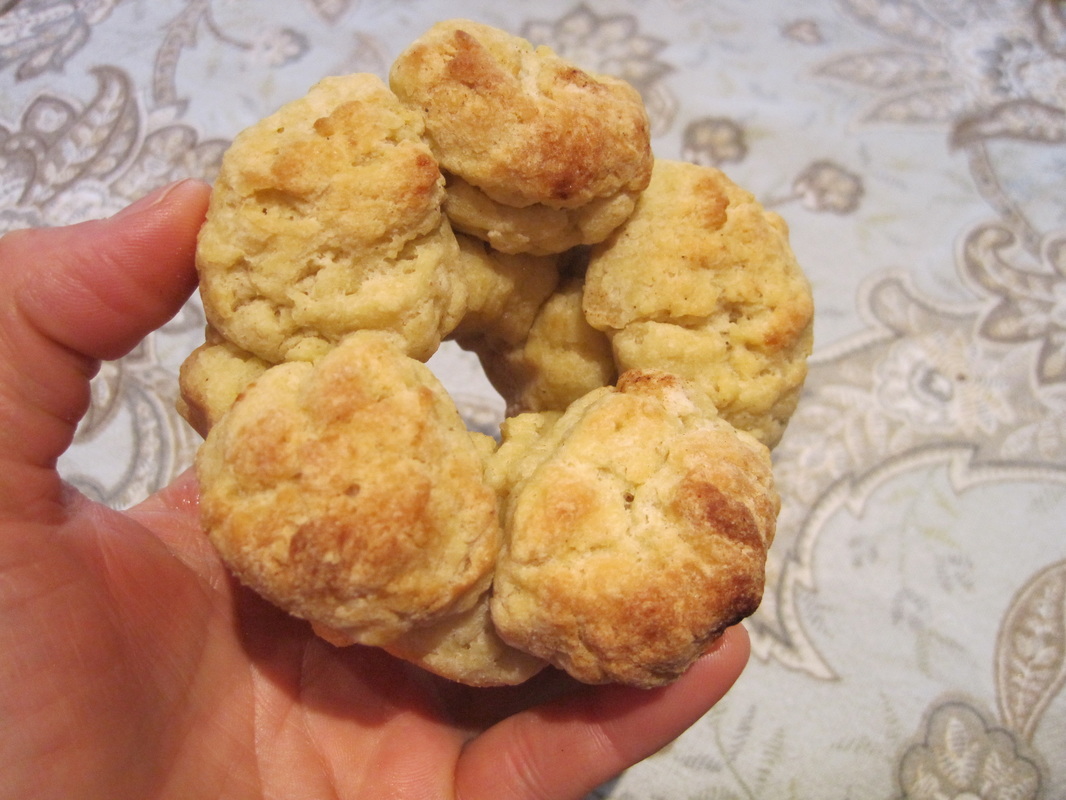
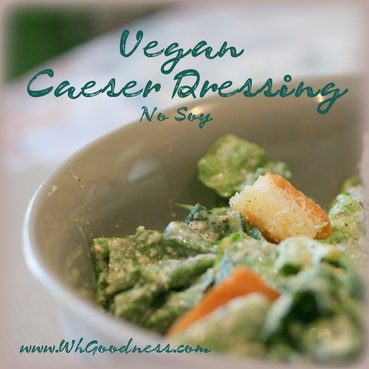
 | Who doesn't love Caesar Salad? I gave it up 20 years ago because of the dairy, but now its back!!! I think I've had it every day for weeks now trying to make up for lost time! |
Ingredients:
1 cup Hemp Seeds
1 cup Pine Nuts
1 Tbs. Umeboshi vinegar
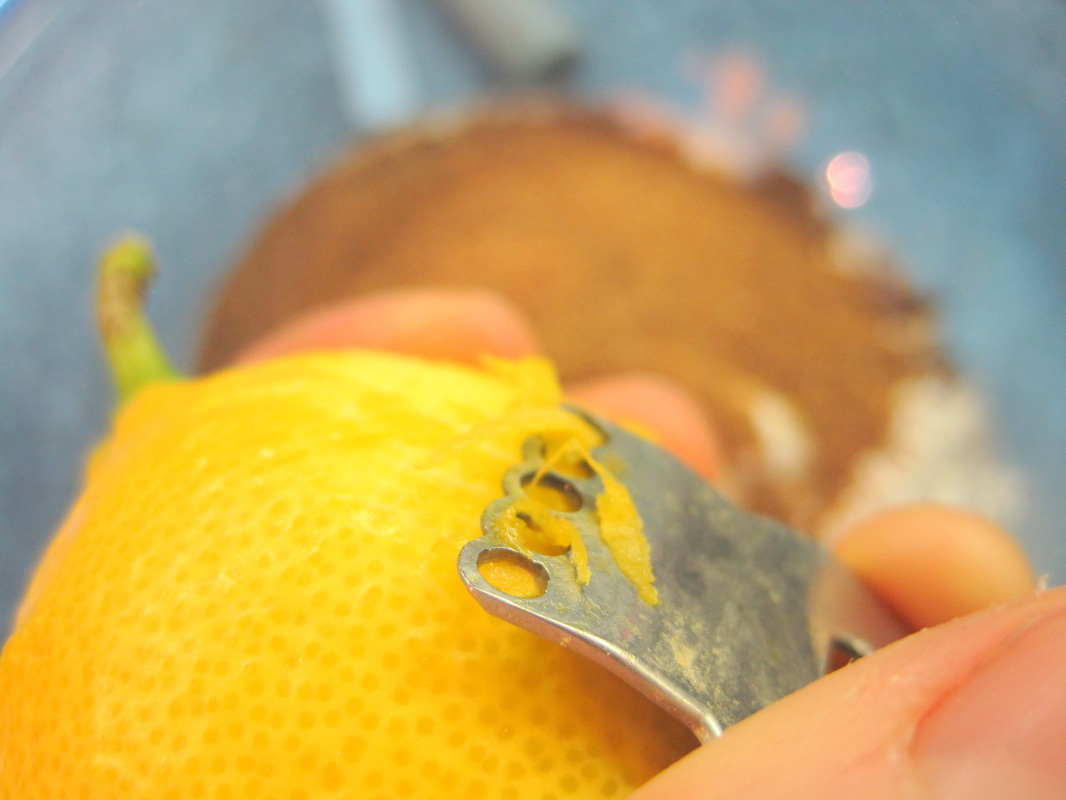
1/3 cup Lemon juice
1/2 cup Olive oil
4 drops of Stevia
1/2 sheet of Nori
2 tbs. Capers
1-2 Tbs. Fresh Jalapeños
1-2 Cloves Garlic
2 Tbs. Red Wine Vinegar
1/2 cup Water
Salt and Pepper to taste
1 cup Hemp Seeds
1 cup Pine Nuts
1 Tbs. Umeboshi vinegar
1/3 cup Lemon juice
1/2 cup Olive oil
4 drops of Stevia
1/2 sheet of Nori
2 tbs. Capers
1-2 Tbs. Fresh Jalapeños
1-2 Cloves Garlic
2 Tbs. Red Wine Vinegar
1/2 cup Water
Salt and Pepper to taste
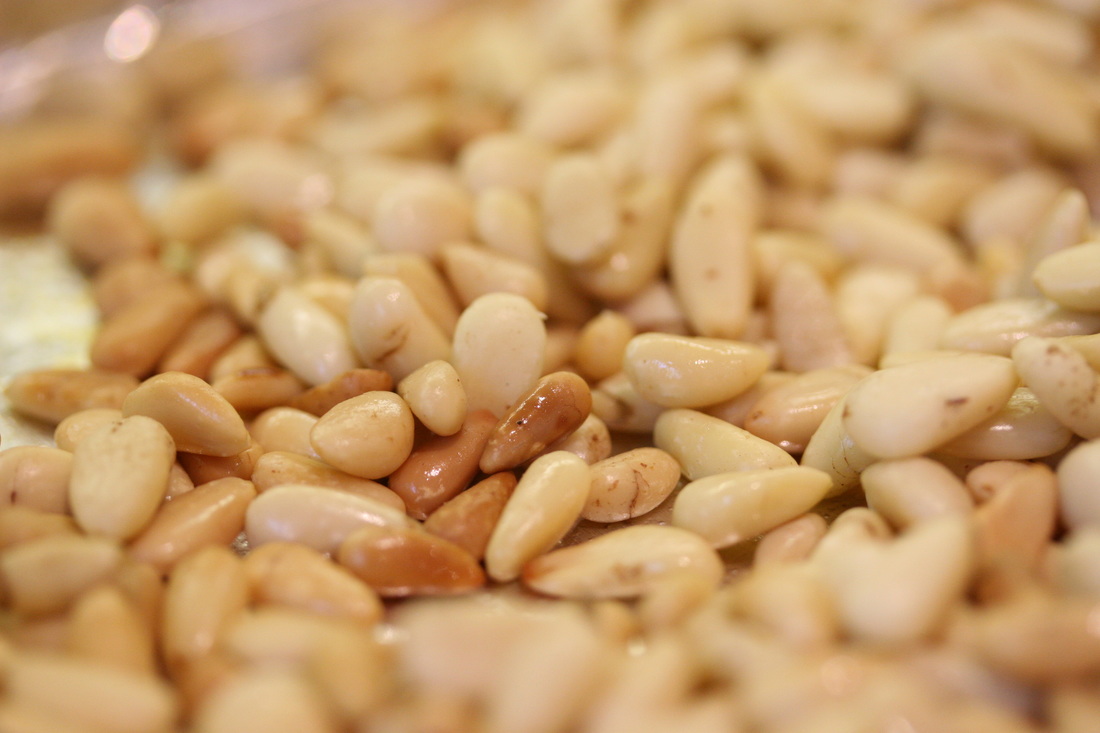 | Lightly toast your pine nuts. |
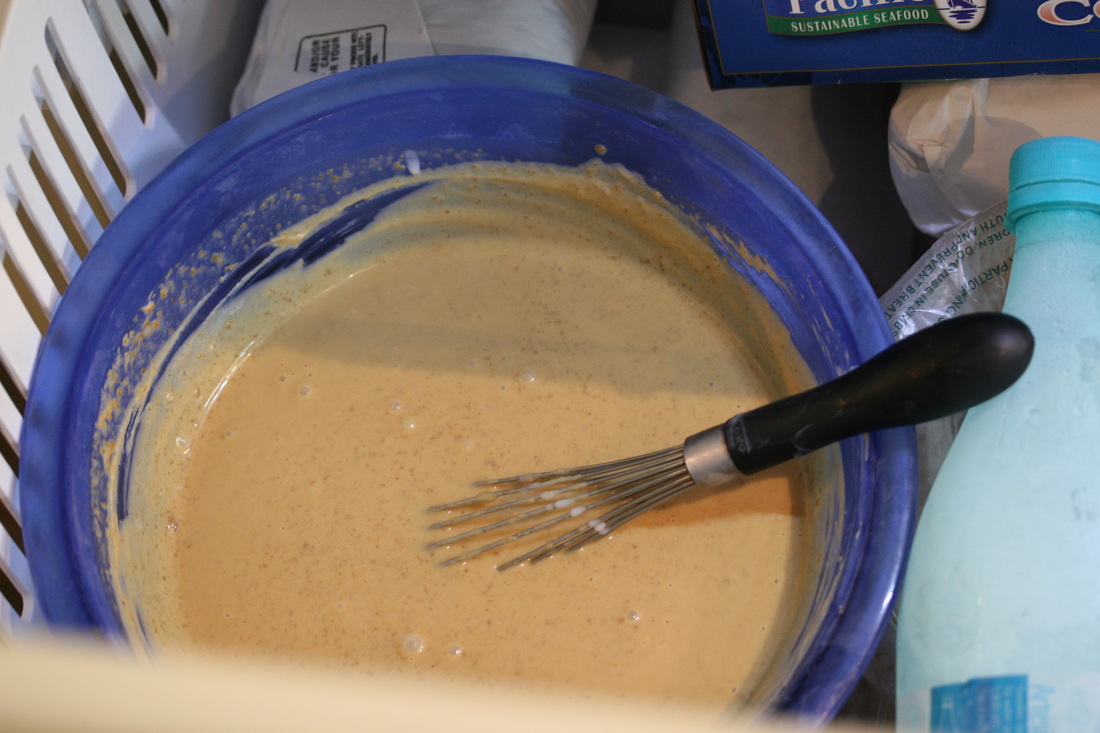
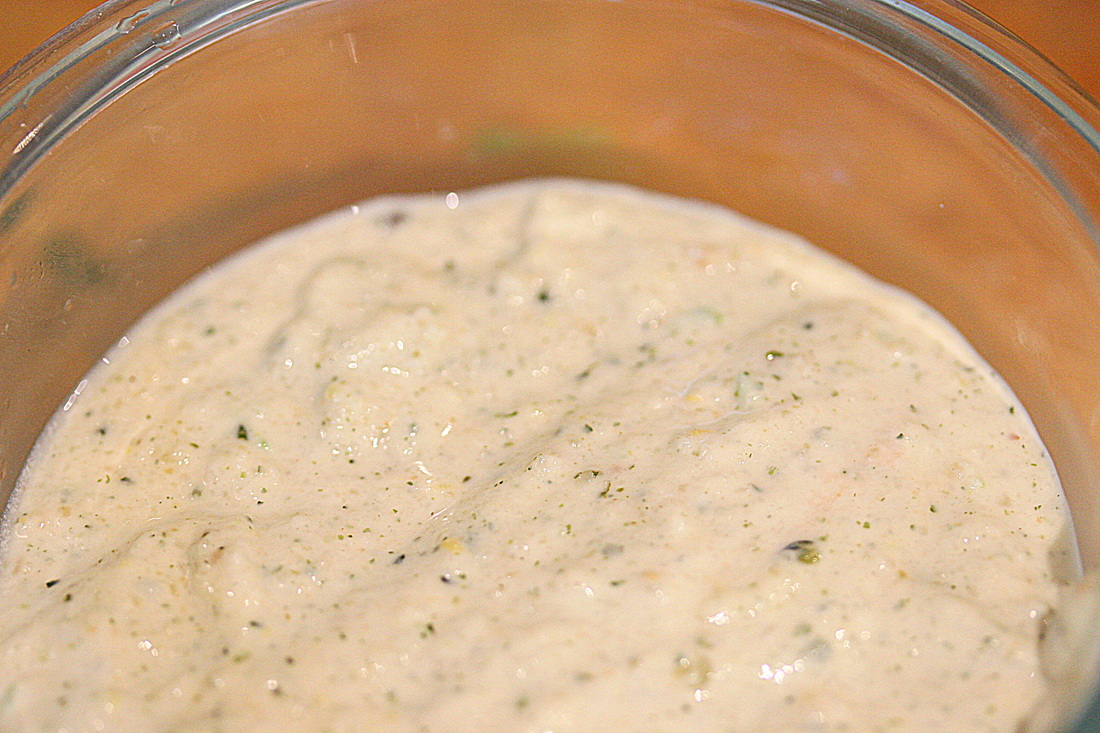 | Blend all together in a blender or food processor until smooth. |
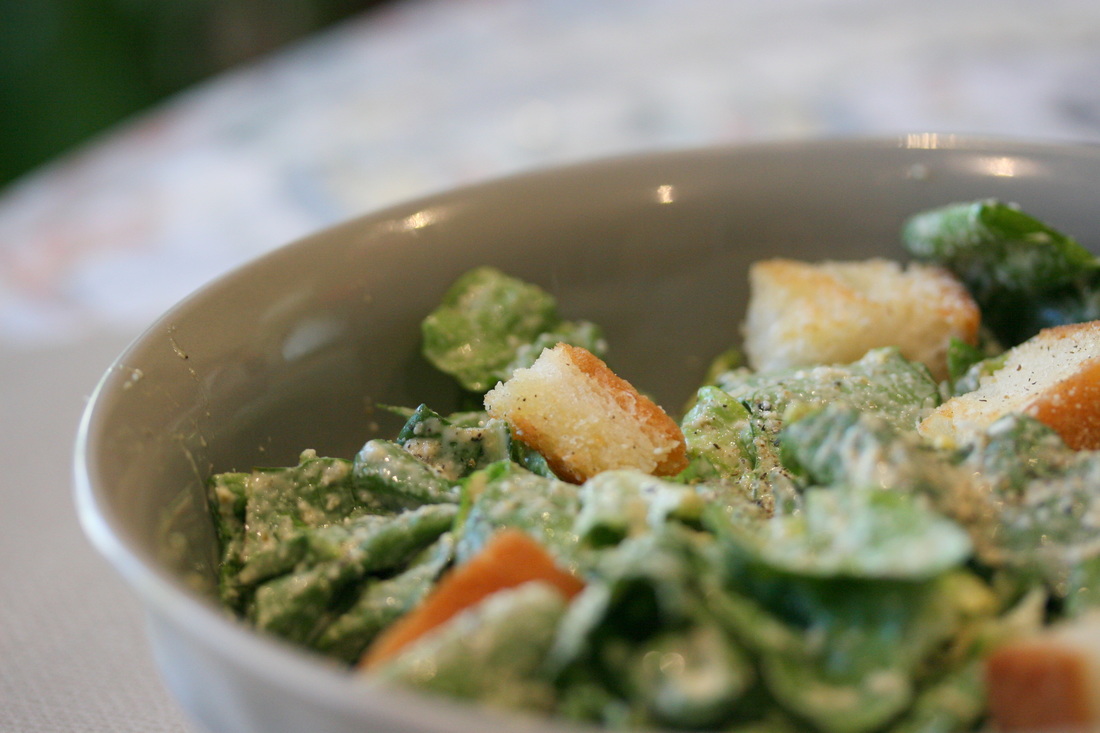 | Add GF Croutons and fresh ground pepper to taste. Super YUM!!!! |